Did you know that shiplap isn’t actually shiplap?
So I admit that I am addicted to HGTV. And what seems to be most popular? Shiplap. For those of you who don’t have the same addiction, here’s what it looks like:
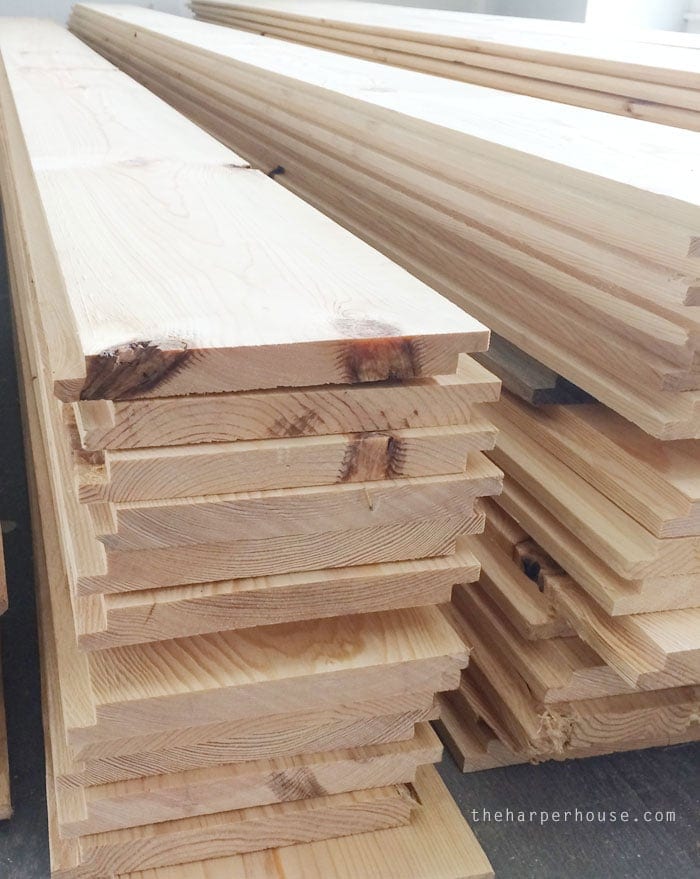
Shiplap is the horizontal wood covering on the walls in place of drywall. When we started this renovation of “the cabbage”, Steve declared that he didn’t want any drywall. He didn’t want our cottage to resemble a house in any way but to have that vintage cottagey feel and what better way to achieve that than with shiplap?
There is a little lip on either side of the board so that they overlap each other. Hence the “lap” in “shiplap”. I think the original purpose was actually in shipbuilding. The overlap would make it a bit more water tight.
Not readily available
We found only one place in Greater Vancouver that sold it and they carried only utility grade hemlock. What??? That didn’t seem to be what they used on TV. But in the pouring rain at 6am when the lumber yard opened, we were sorting through 12 foot lengths loading them onto our flat deck trailer. So many of the boards were warped or damaged so the sorting took quite some time. Can’t say I was too happy about it as I was soaked and cold. Neither was the son who we forced to come with us to help! After paying, off we headed up to the Cariboo.
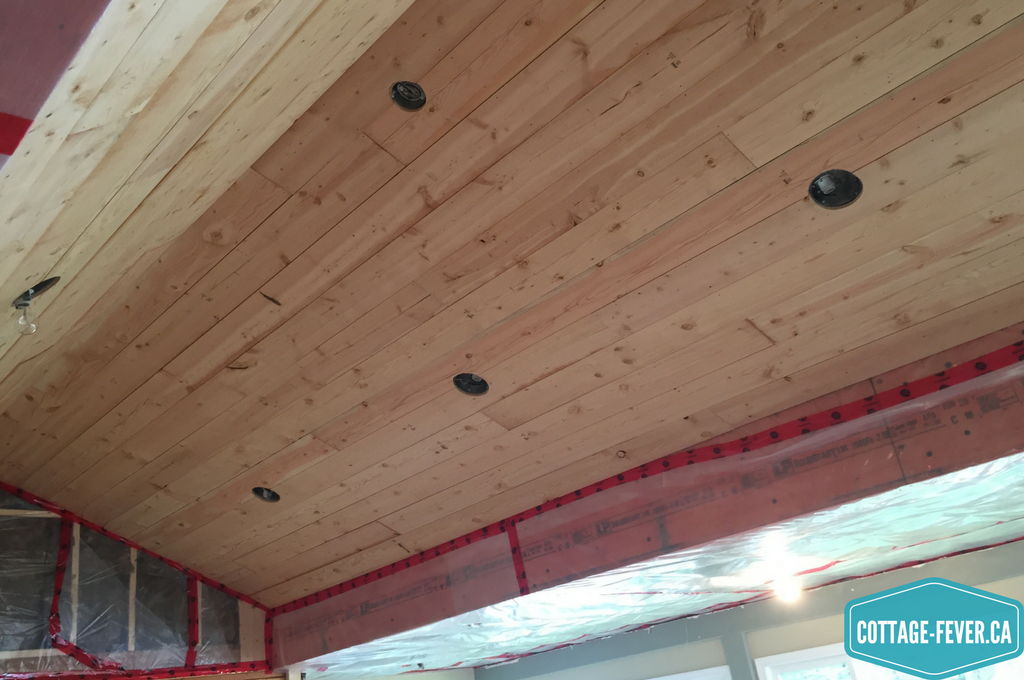
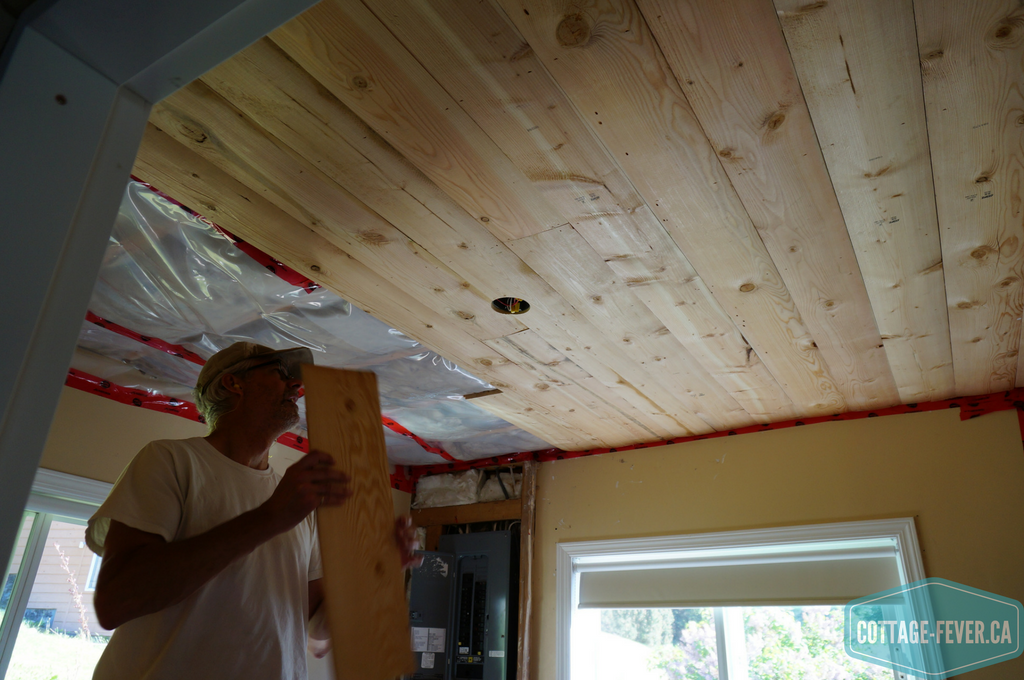
This load was intended for the ceiling. Well, we realized that maybe 12 foot lengths weren’t going to be the easiest to deal with. If it was warped, it was only exacerbated by the length of the board. Not quite as tight a fit as tongue and groove but still, trying to jam these warped boards into each other was painful to say the least. Pushing, pulling, swearing and many many nails later, we got them up on the ceiling.
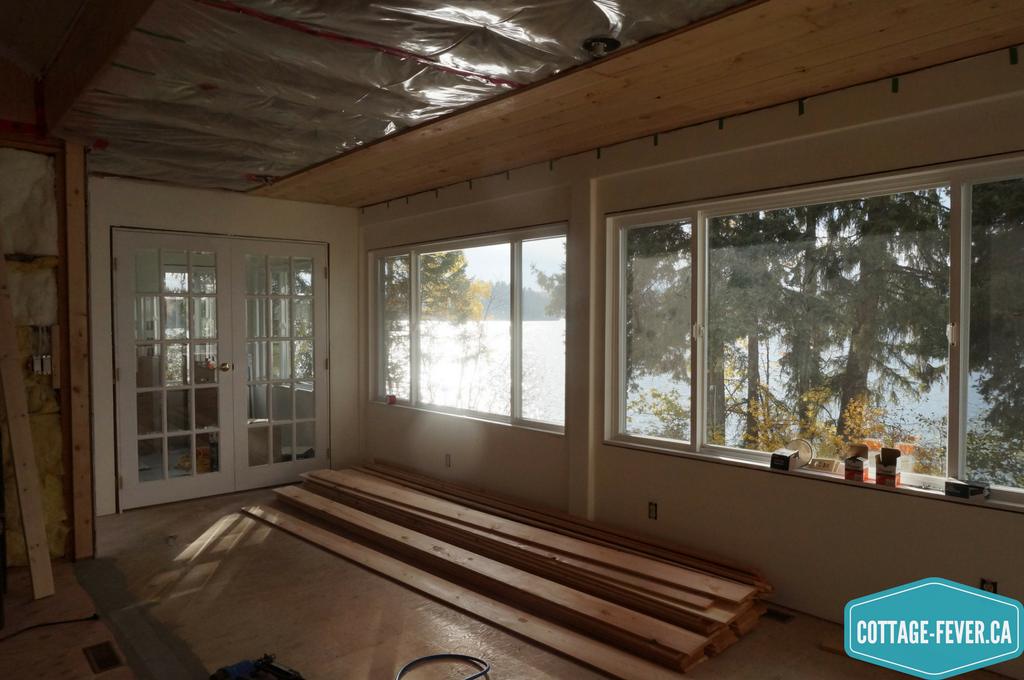
Believe it or not, we had shiplap stacked on the floor for a full year as that’s how long it took to complete all the ceilings. Glad I’m no longer tripping over it.
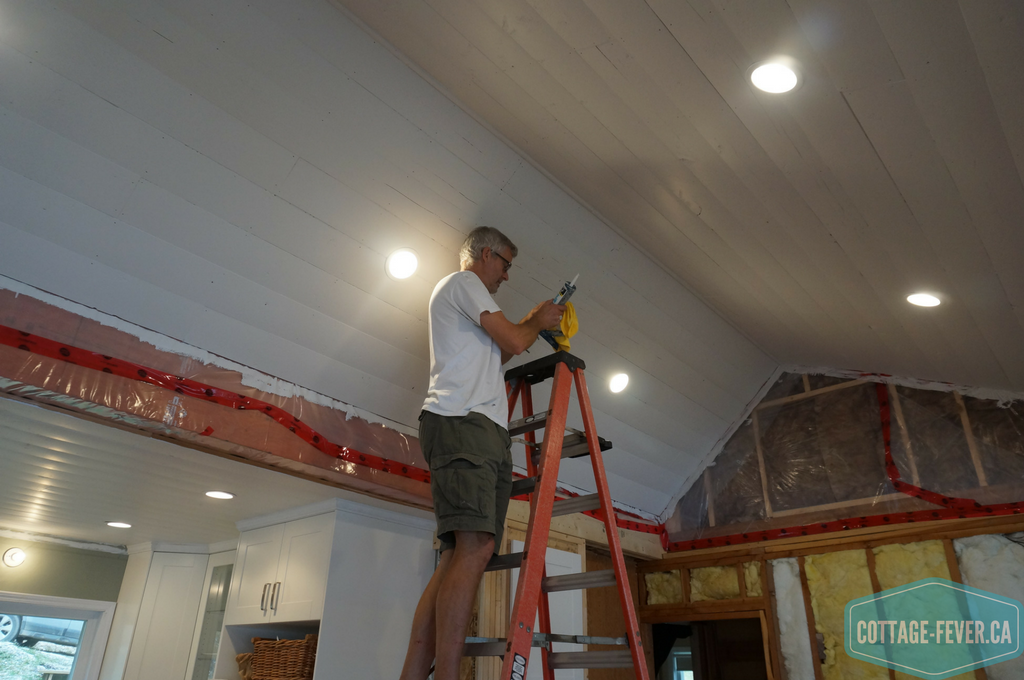
Installing the ship lap onto the vaulted ceiling 14 feet up was definitely a two man job for Steve and Dan. My job was to paint it and then fill in the cracks with dap. Why does the shortest person get the tallest job? I was up at the cottage on my own and dangling off the top of a very tall step ladder that we borrowed. I texted my brother who lives six minutes away to let him know what I was up to and that if I didn’t respond to texts it was probably because I was lying on the floor in a crumpled heap. It took me eight hours to dap the vaulted ceiling. Of course later there were many “caulk” jokes.
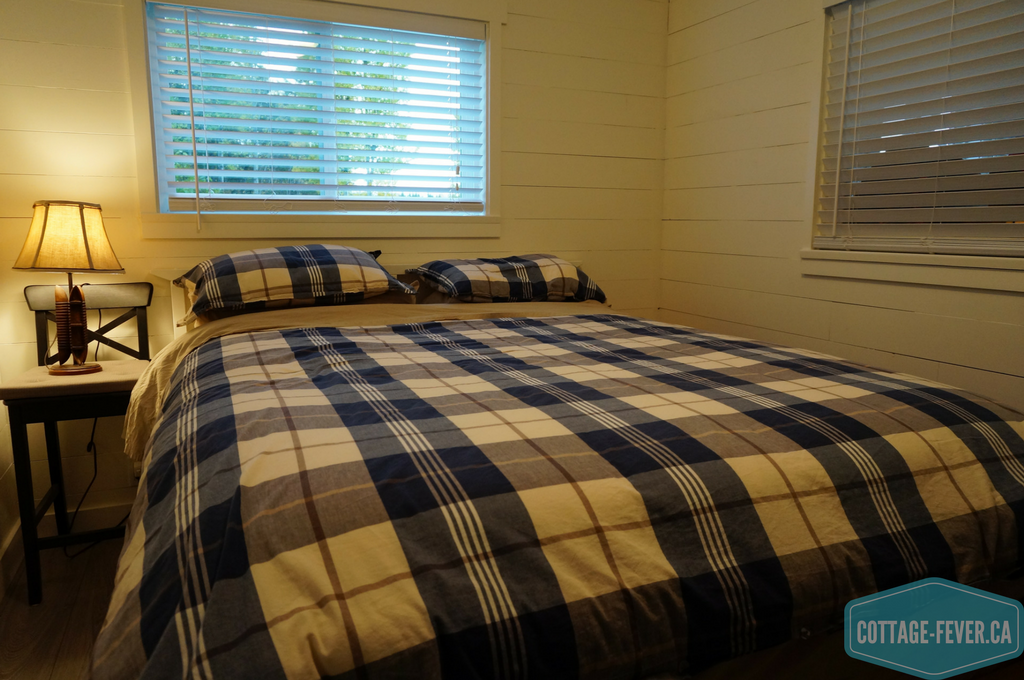
So we got down to the last of the shiplap. We were sweating over if we had enough to finish the last bedroom as it could only be bought in Vancouver. Well if you notice, the first five boards are all complete pieces. Then we ran out and had to start using cut ends. It was like a puzzle finding just the right length of left-overs. Whew. Made it!
On to tongue and groove
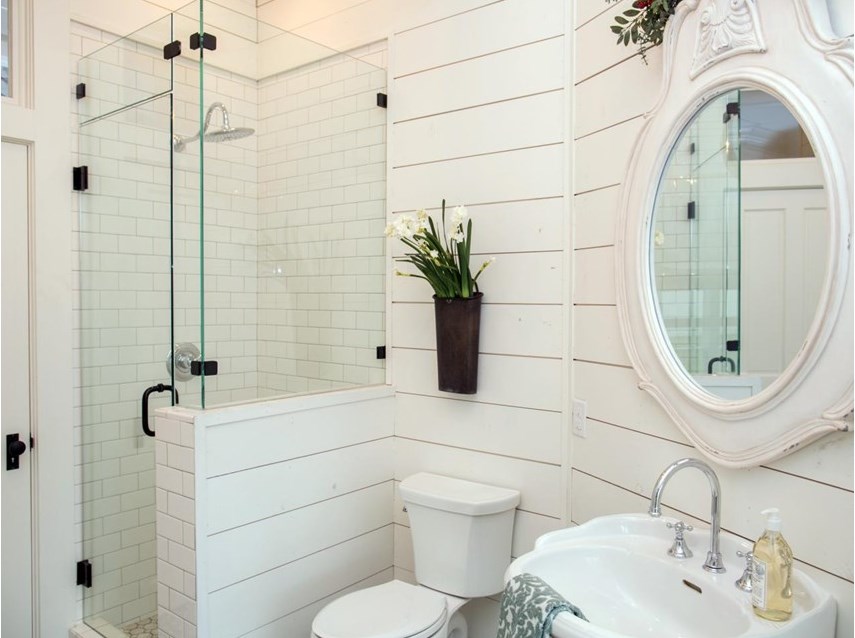
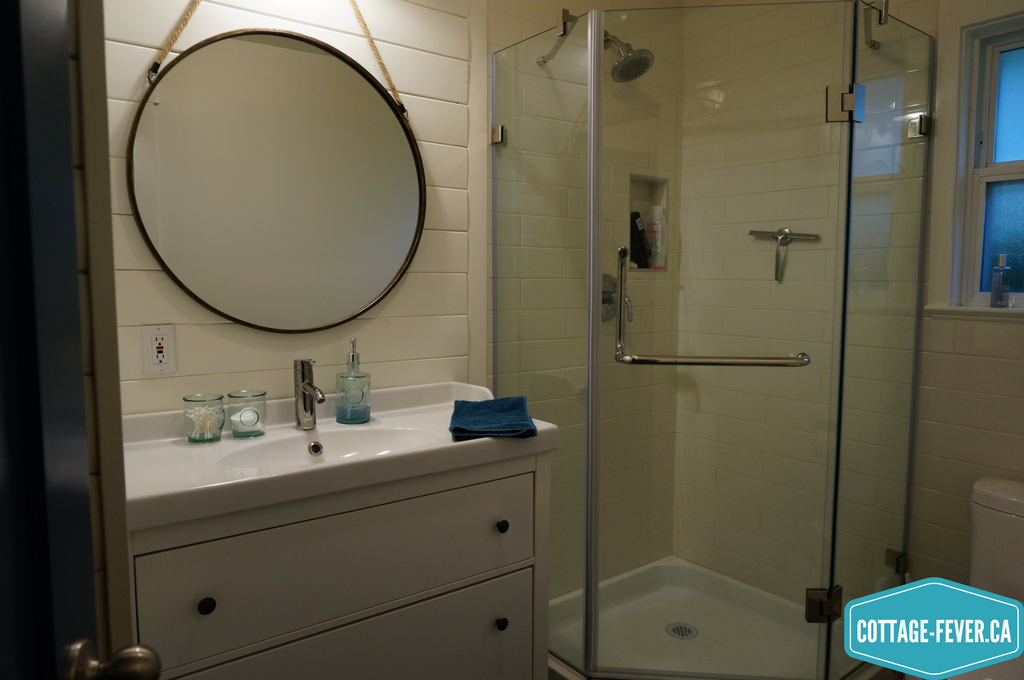
So when it came to the bathroom, there was no more shiplap. But after the experience of shoe-horning it onto the ceiling, we thought we’d try something different. We had some tongue and groove in the garage, leftover from our hallway at the old cottage. Dan suggested that we use that in the bathroom since it was on hand. So up it went.
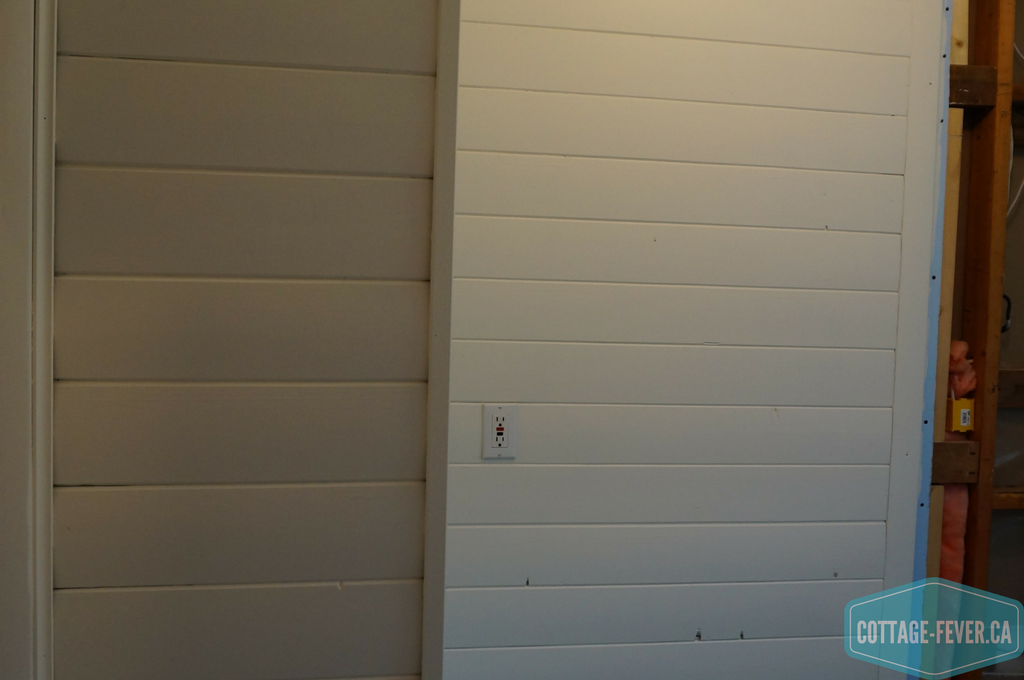
The finished product looks pretty good!
Third time’s a charm?
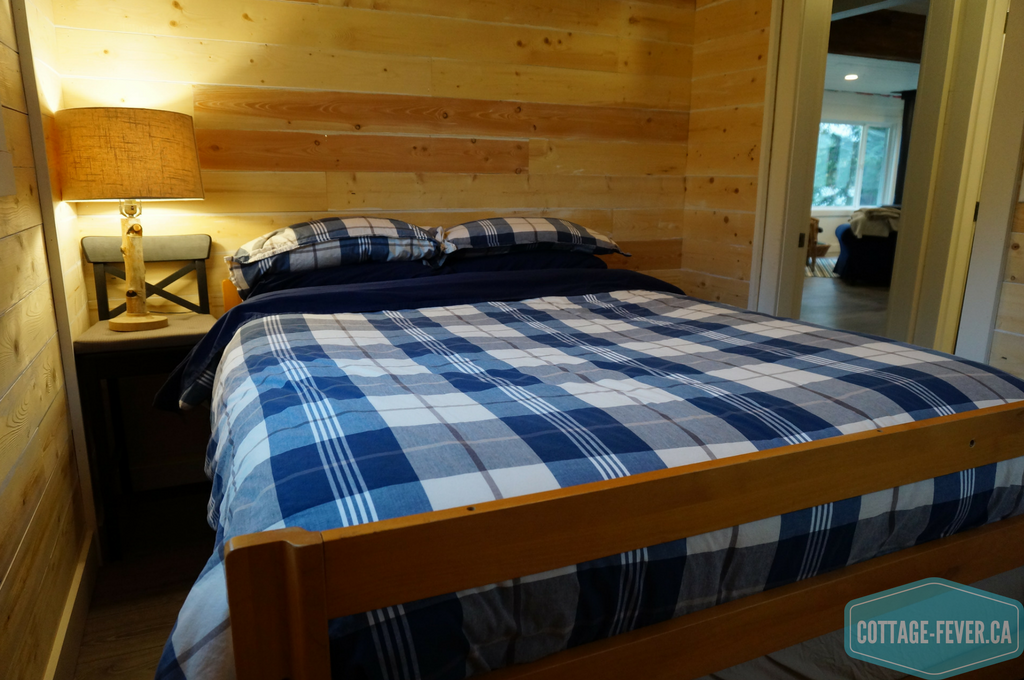
The tongue and groove worked in this small space but we’d had real challenges with it when we used it before in larger areas so on to the next wood product! We figured that 1″ x 6″ board had to be straight and would be easier than both the shiplap and tongue and groove so off we went with the flat deck trailer to the lumber yard in the closest town. Steve had done all the calculations for two bedrooms and the hallway but let’s not talk about how that worked out. Let’s just say there were multiple trips to that lumber yard.
Well, the 1″ x 6″ had its own challenges too. Again, some boards were warped. Steve would contort his body pushing the boards into place while I hit it hard with the nail gun.
We had at least learned the trick off HGTV of painting the edges of the board before they went on the wall as you can’t get a paint brush in there after.
Biting the bullet
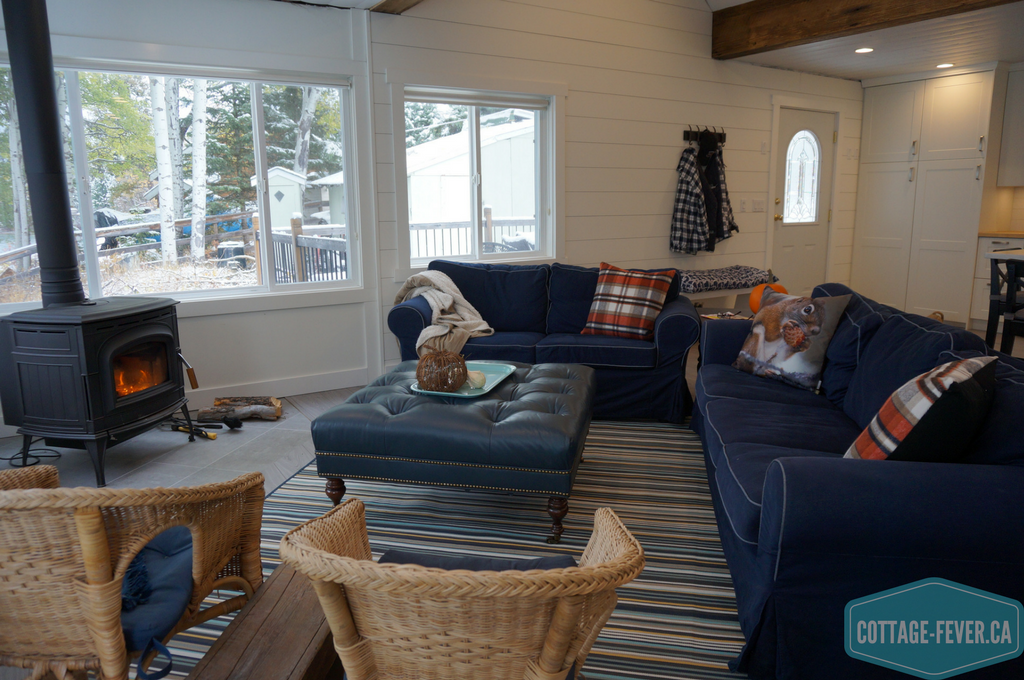
So many frustrations later, when it came to the main living space, we decided to bite the bullet and go with MDF boards measuring 1″ x 8″. They are significantly more expensive than any other material we used. But what a dream to put up!

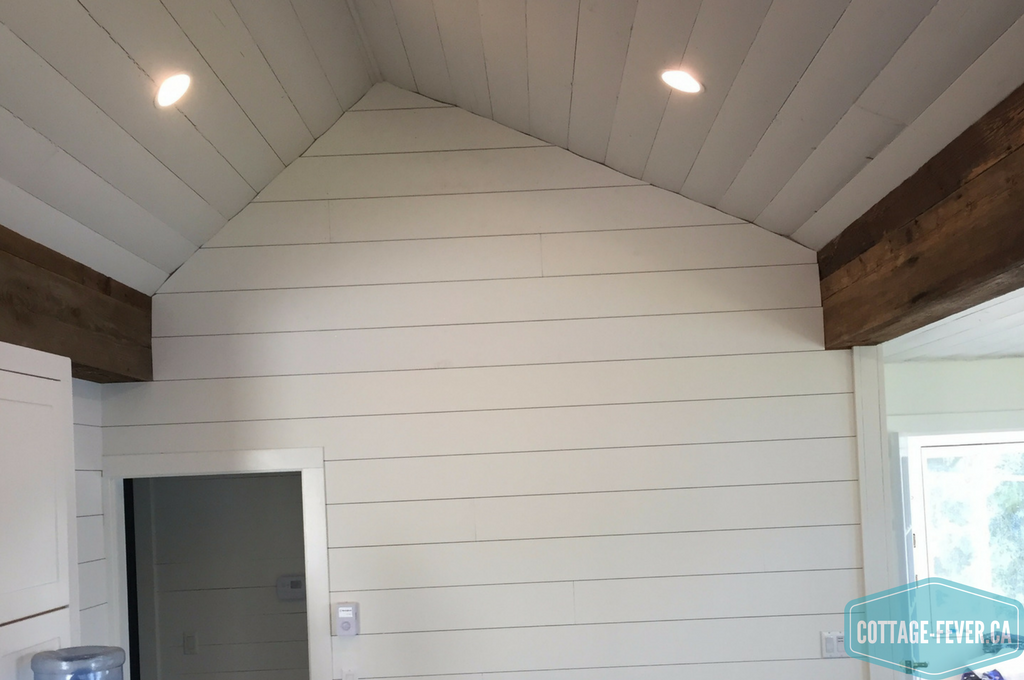
We used nickels as spacers between the boards. What a treat to have the boards remain level all the way up the wall. But the peak was proving to be a bit of a puzzler. In fact, Steve puzzled and puzzled ’til his puzzler was sore.
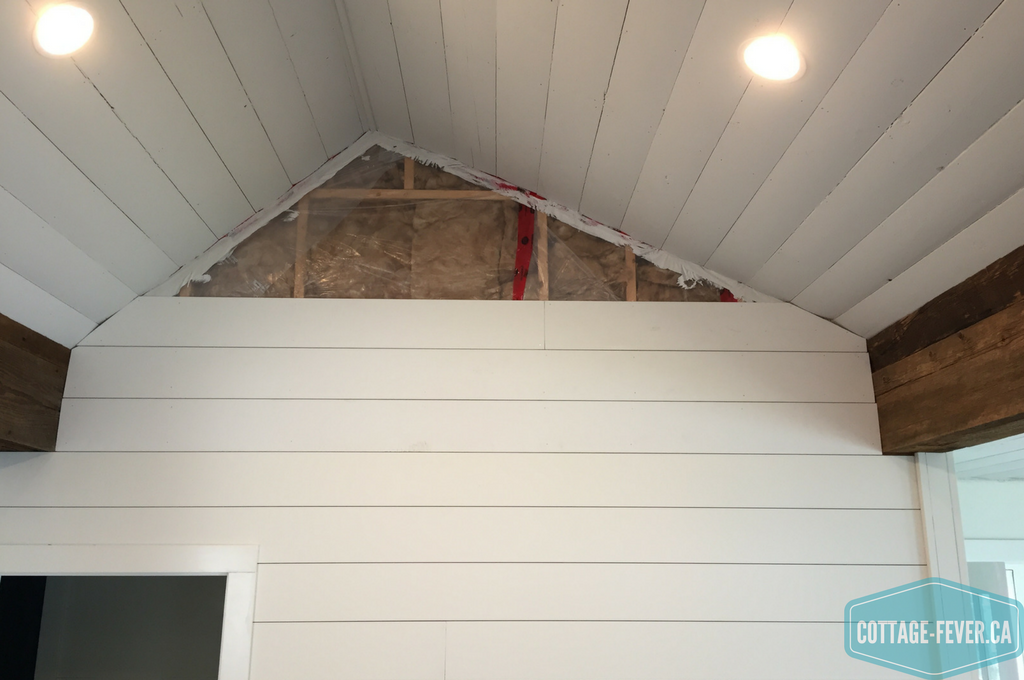
The engineered beams on either side are different sizes based on the span. They are at the same height at the bottom but a different height at the top. (And don’t you love how we covered the ugly engineered beams with salvaged barn board? Steve’s idea and he’s not about to let anyone forget it.) The installers suggested that we might want to offset the vault rather than centre it so that as you enter the cottage, your eye is lead out to the view of the lake. Great concept except that it meant that the angles on either side are different. This proved a chin scratcher for Steve. He’s not proud that it took about eight hours to complete this one peak but he got ‘er done.
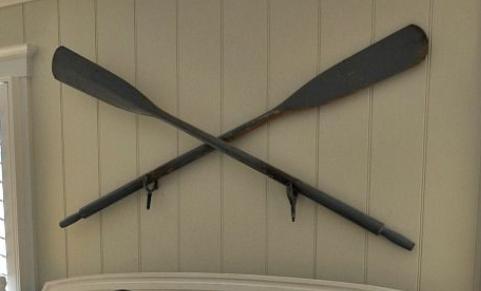
It’s just waiting for the vintage oars I found in the shed that I’m going to put up there similar to this picture:
So after one full year, we have the walls in every room completed. We did end up leaving a bit of drywall, such as the wall around the windows.
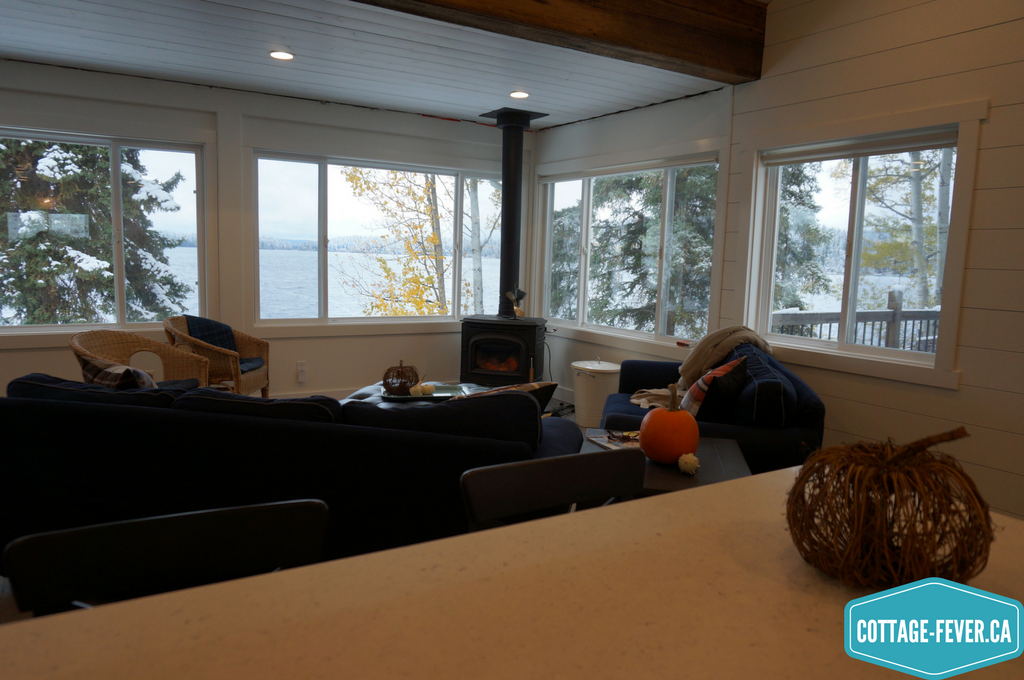
It was just going to be too finicky to do the cuts around the windows so I painted over the diarrhea green colour on the drywall that the original owners had used. Man, it took four coats of the white to cover that hideous colour.
All window trim and base boards are up. All that’s left to go is the crown moulding.
We have no intentions of selling this cottage in the foreseeable future but I can just imagine what a prospective buyer might ask, “what the heck were they thinking when they used four different types of wood????”
Lessons learned:
- Shiplap on HGTV is not actually shiplap
- True shiplap is very hard to find and not many mills in BC produce it
- 1″ x 6″ doesn’t actually measure 1″ x 6″ and is not necessarily straight
- Fingerjoint is wood – we kept asking at the lumber yard what the difference was between MDF and Fingerjoint. It took five times before we got the answer that fingerjoint is actually wood
- Tongue and groove can be a real hassle to install
- If not primed, paint the edges before nailing to the wall
- Use nickels as spacers
- Spend the money and buy MDF. You’ll save time and your marriage