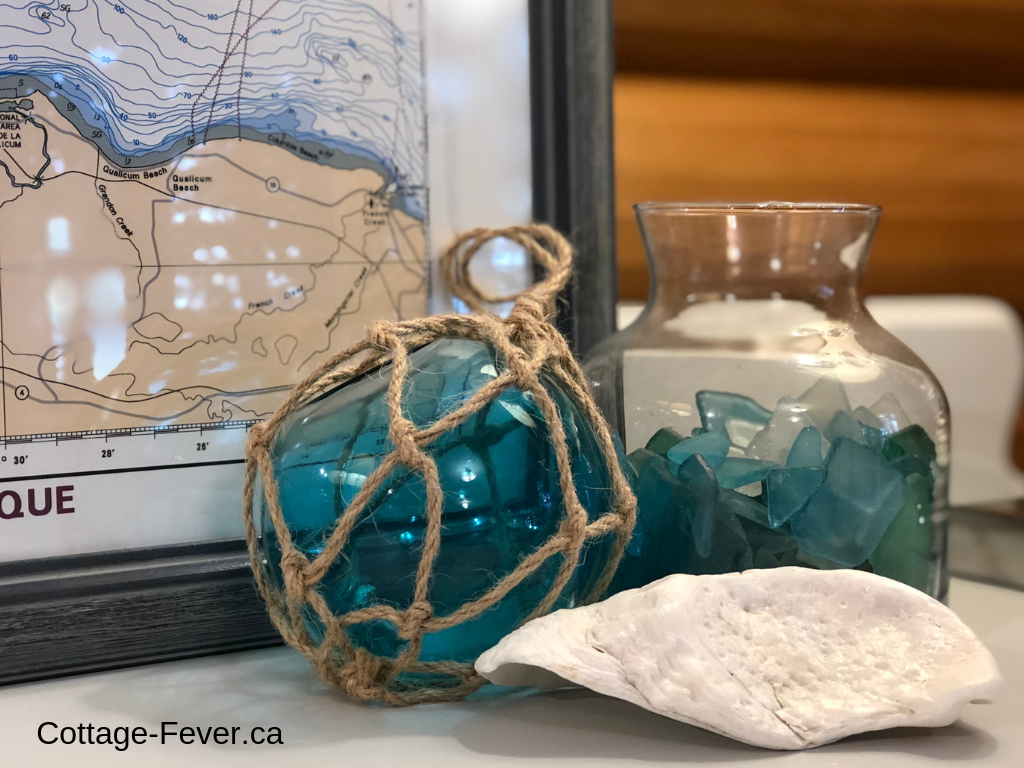
DIY Glass Fishing Floats
The driveway to our beach house is hard to spot in the pitch black darkness of the night. And sometimes even in daylight! I have ugly markers with red reflectors that I bought at the local hardware store. The markers do the job but I wanted something more coastal looking. So taking inspiration from Japanese glass fishing floats, I thought three in varying sizes would make great colourful markers with that seaside vibe that I was going for but the cost made them prohibitive.
So I researched how I could possibly make my own. This website was very helpful, even though based on a Christmas ornament. Here’s my take on it.
Materials
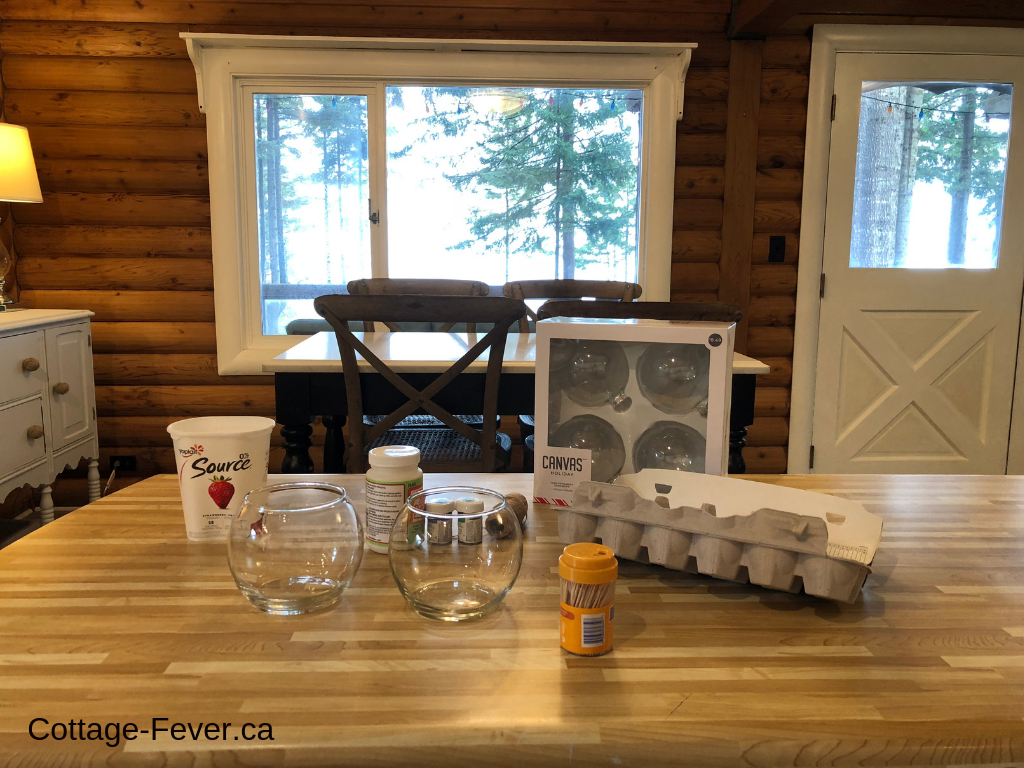
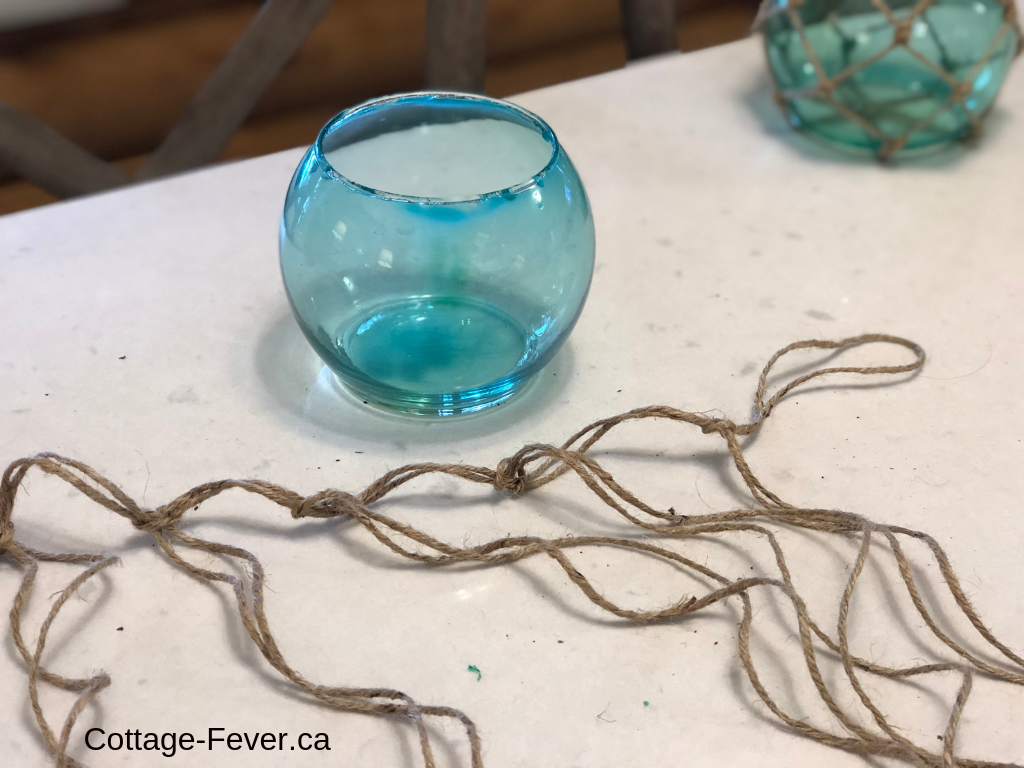
I bought glass bowls at the dollar store along with jute for the netting. The Mod Podge and food colouring came from Michaels. I also bought some glass ornaments to try later.
Costs:
Glass bowl: smaller bowls shown $1.50 each, larger bowl not shown $4
Jute for netting: $1.00
Blue and green Winton food colouring: $2.29 each
Mod Podge Gloss: $9.00

Directions
Colouring the glass bowls
Pouring the Mod Podge into an empty yogurt container allowed me to mix colour a bit at a time. I added in blue food colouring using a toothpick. My goal was turquoise so I added a tiny bit of green at a time until I was pleased with the colour. The colour dried quite a bit differently and I don’t think you can go too far wrong with any blue/green combination.
Then I poured the coloured Mod Podge into the glass bowls, swirling it around. I was surprised at how it didn’t seem to want to cover the walls of the bowl but shaking and tapping it eventually got it evenly covered. Then I put them upside down over an egg carton to dry. I thought that they’d be dried in a day but they took many days to dry to the point they were finally clear and ready to be covered in the netting. Alternatively, you could put them upside down over a pan (one that you don’t want to use again) and put them in the oven at 200 degrees F but I don’t know how long this method will take.
Channelling your inner hippie
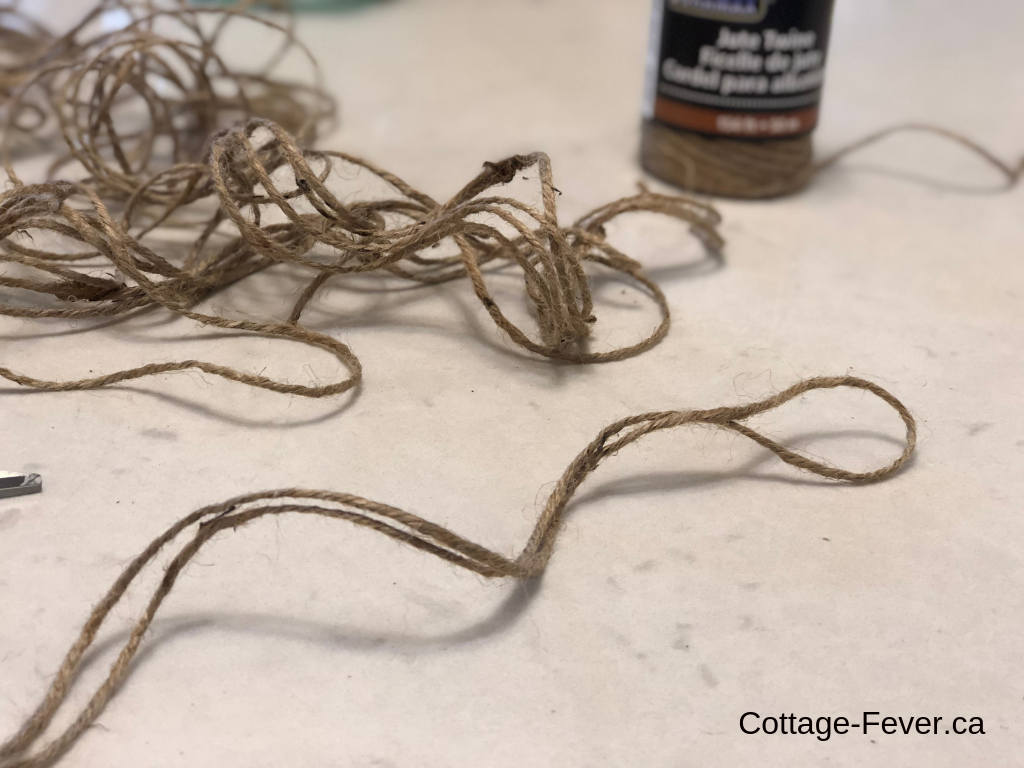
Next came the macrame to create the netting on the bowl. I cut seven lengths of jute. Mine were 150 cm long but it really depends on the size of the bowl being covered. Taking the first length, I folded it in half.
Taking the other six pieces of jute, I attached them to the first piece by folding in half and looping the ends through.
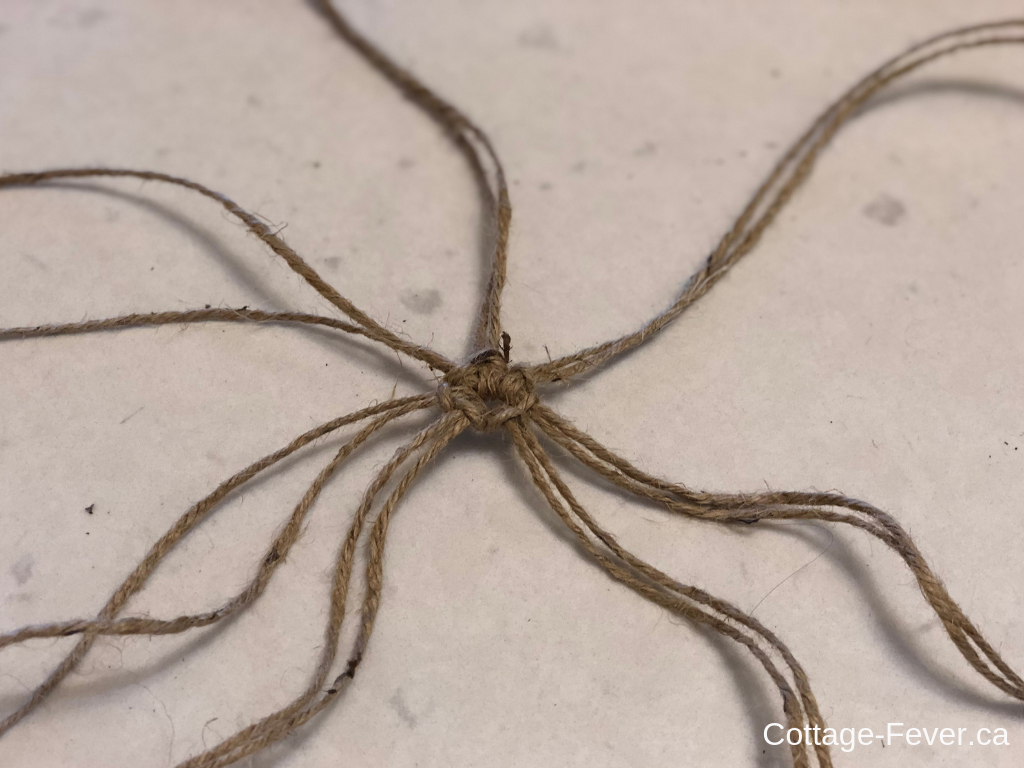
Pulling all the knots together and tightening created a central knot. Spread out in a circle, it kind of looks like a spider. Bleh.
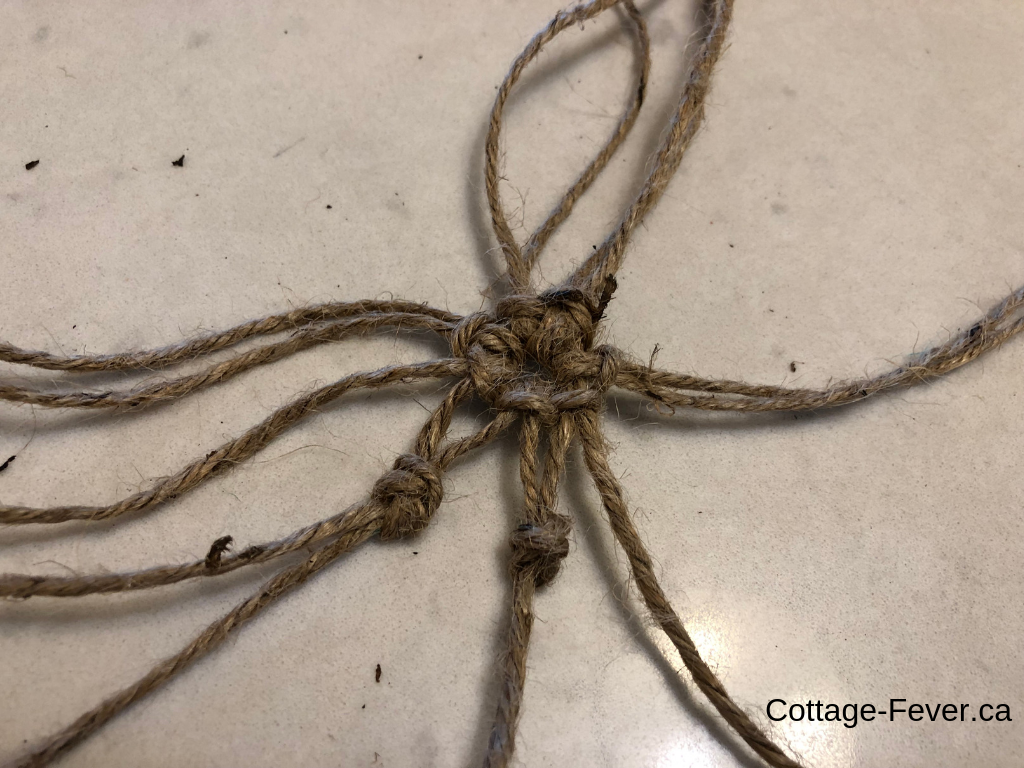
Taking one piece of jute from one knot and looping together with a piece of jute from the neighbouring knot created the start of the first row of knots. I did these approximately 2 cm from the centre knot.
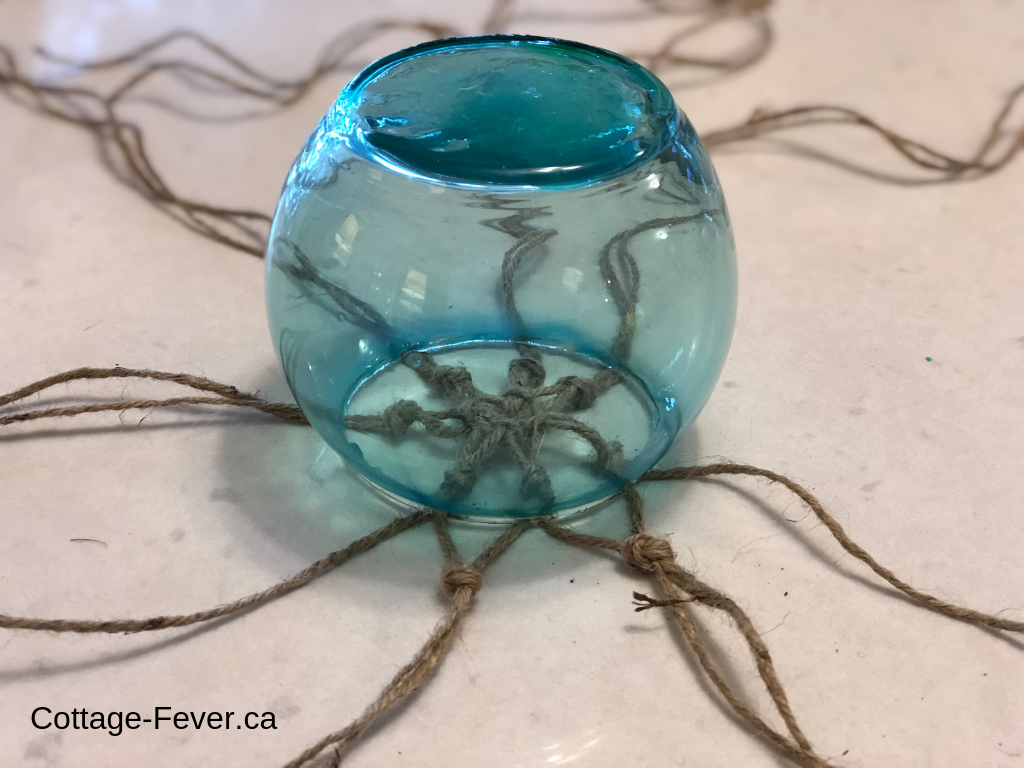
Once the first row of knots was complete, I placed the bowl on top so that I could start to shape the next row of knots around it. The next row’s knots were spread out by approximately 3 cm.
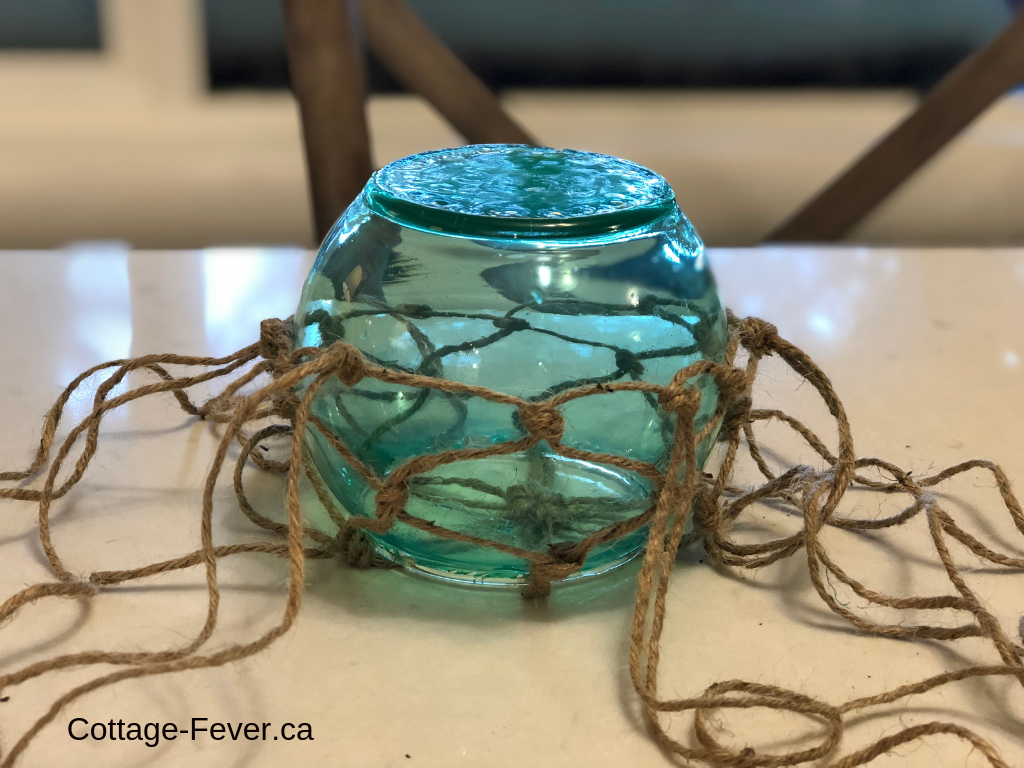
The netting is really starting to take shape now as it worked its way up the sides of the bowl.
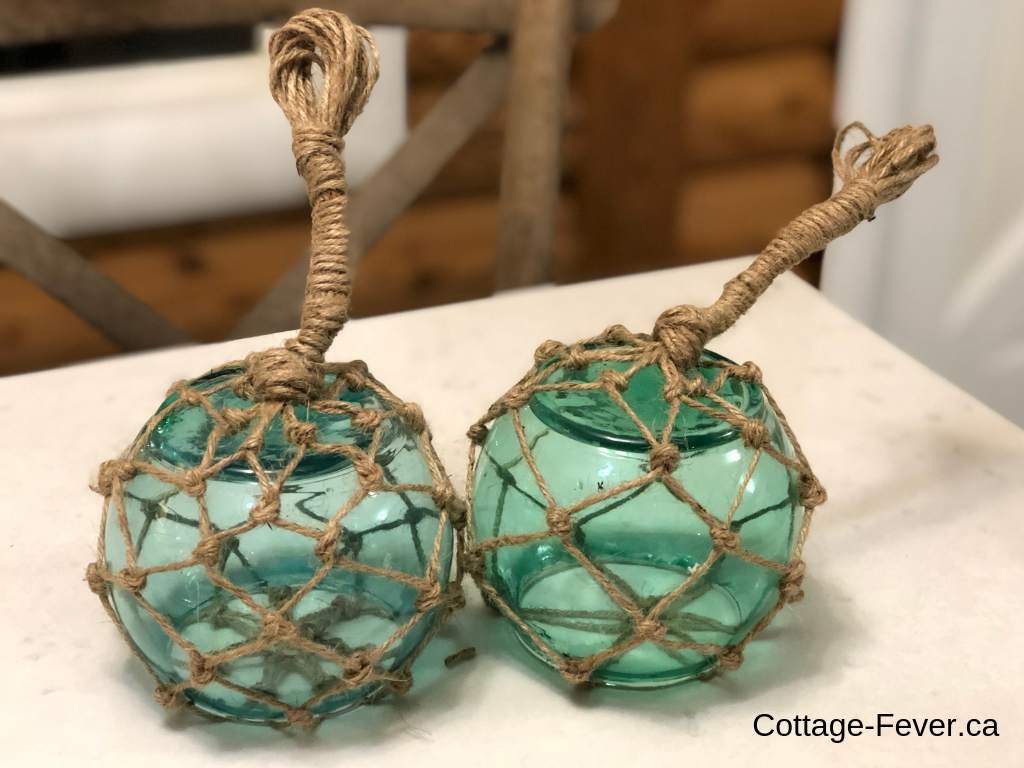
I finished off by knotting all the jute together at the top, folding the jute pieces over on themselves, leaving an open loop and taking a separate piece of jute and winding it around them. I finished it by using a dab of glue from a glue gun to secure the end.
Overall I’m pretty pleased with myself. Just need to finish the netting on the third, much larger bowl and I can put them out by my driveway. No more missed turns!