How to create a coastal inspired wreath
For years and years, I’ve been hosting wreath making workshops for friends. It’s allowed me to hone my wreath making skills as I’ve taught countless others to make theirs. I’m now also hosting workshops at the local garden centre. Taking it one step further, I thought that I would share how to make a coastal inspired wreath here on my blog. You can make a wreath for any season, just by varying the greenery. Scroll to the bottom to see a Spring Wreath.
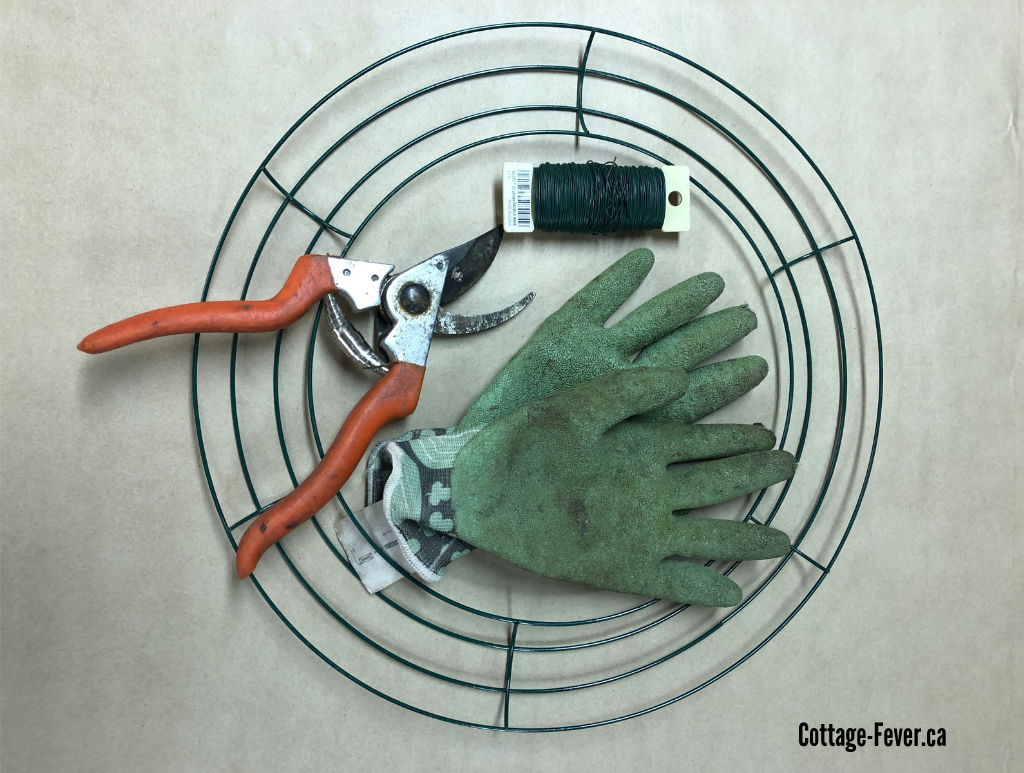
Step One: Gather your tools
Scroll to the bottom of this post for links to all the items that you’ll need.
- Wire wreath form – 12 or 14 inch – available at most nurseries or craft supplies store or on Amazon.ca
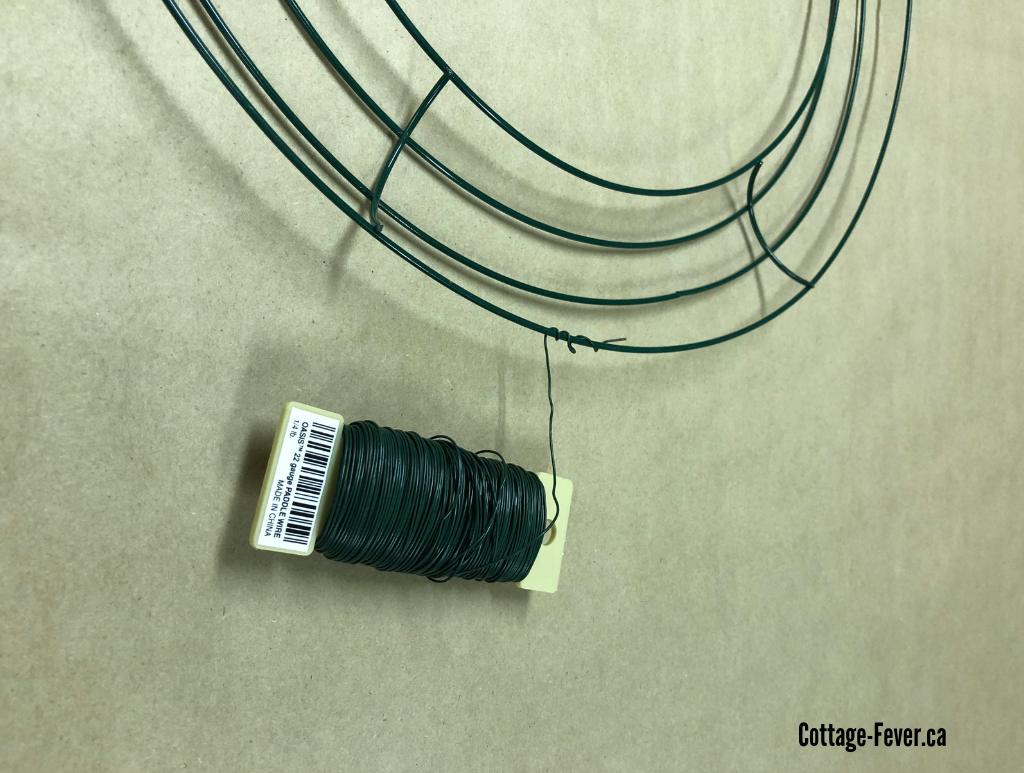
- 22 Gauge paddle wire
- Gardening Gloves
- Clippers
- Apron (optional to keep sap off clothing)
- Santa hat, Christmas sweater and Christmas music optional
Step Two: Gather the natural materials for the wreath
The options of what to add to your wreath are endless. I usually scour around my property to see what I can find and then purchase some botanicals as accents. For this particular wreath, I’ve used:
- Cedar
- Pine
- Rosemary
- Fir
- Seeded Eucalyptus
Nautical touches:
- Rope
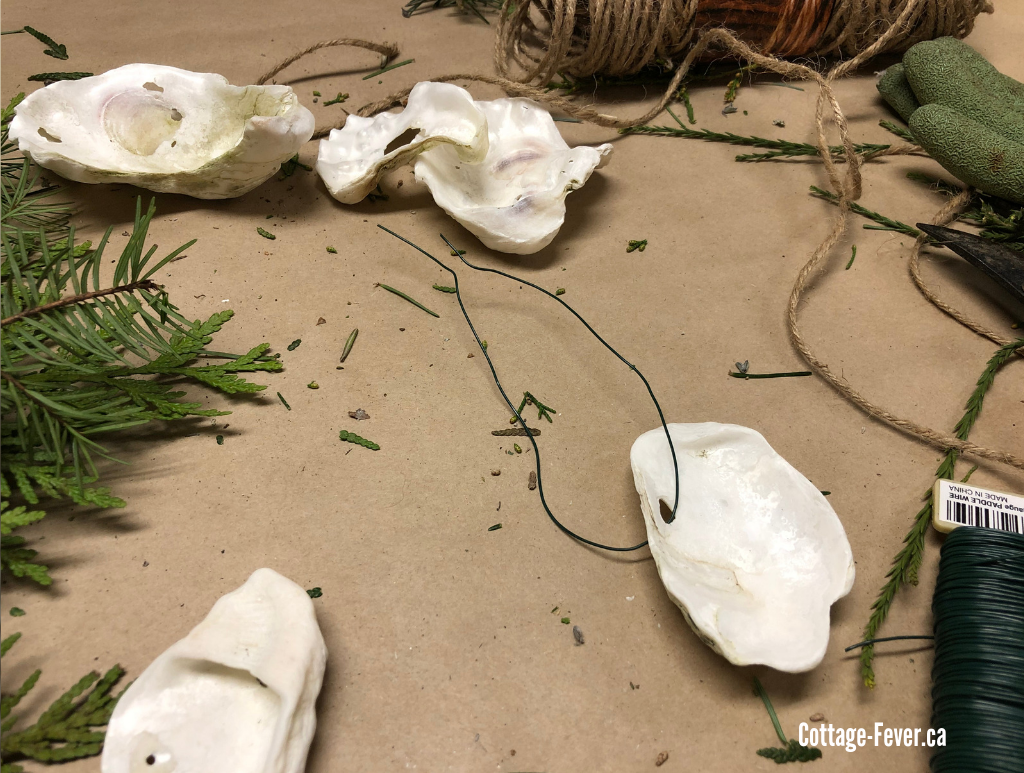
- Shells
- Other options include:
- Glass fishing floats
- Driftwood
- Starfish
I beach-comb for the shells but if you’re not lucky enough to live close to the shore, Michael’s is a great resource. You don’t need to over do the nautical touches in order to create a coastal inspired wreath. It’s more of a nuance or suggestion rather than in your face.

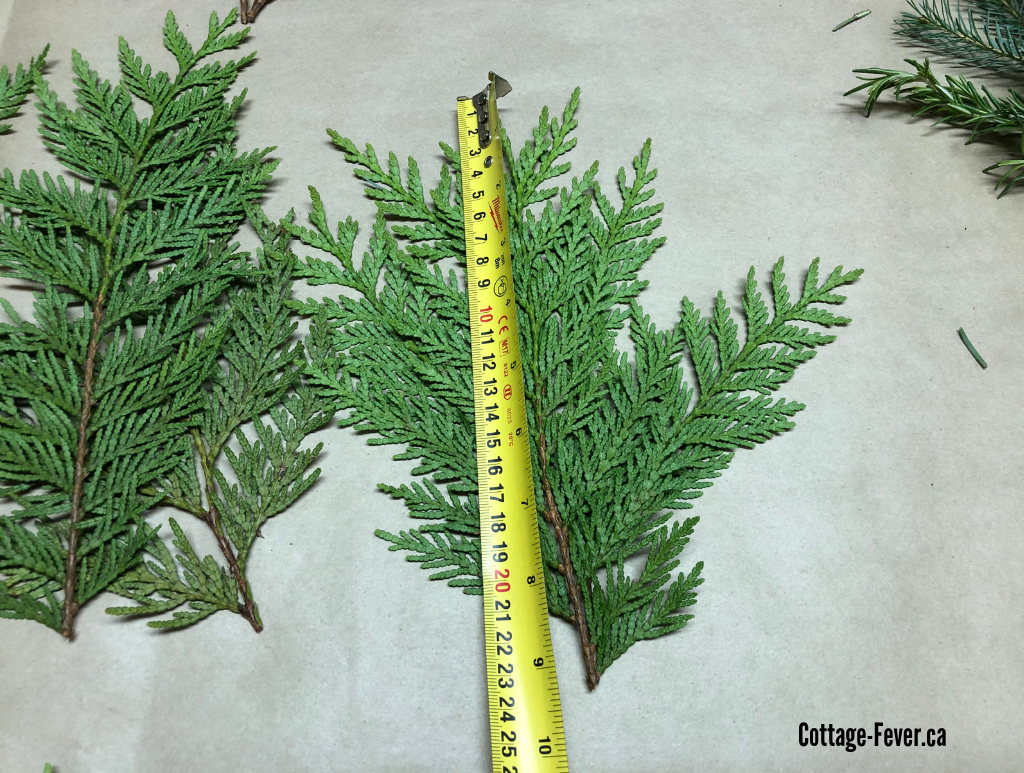
Step Three: Begin assembling your coastal inspired wreath:
For a 12 inch wreath, you’ll need approximately 10 bunches of materials. In my case, I used a 14 inch frame and it needed 14 bundles.
Start by cutting your different branches in approximately six to seven inch lengths.
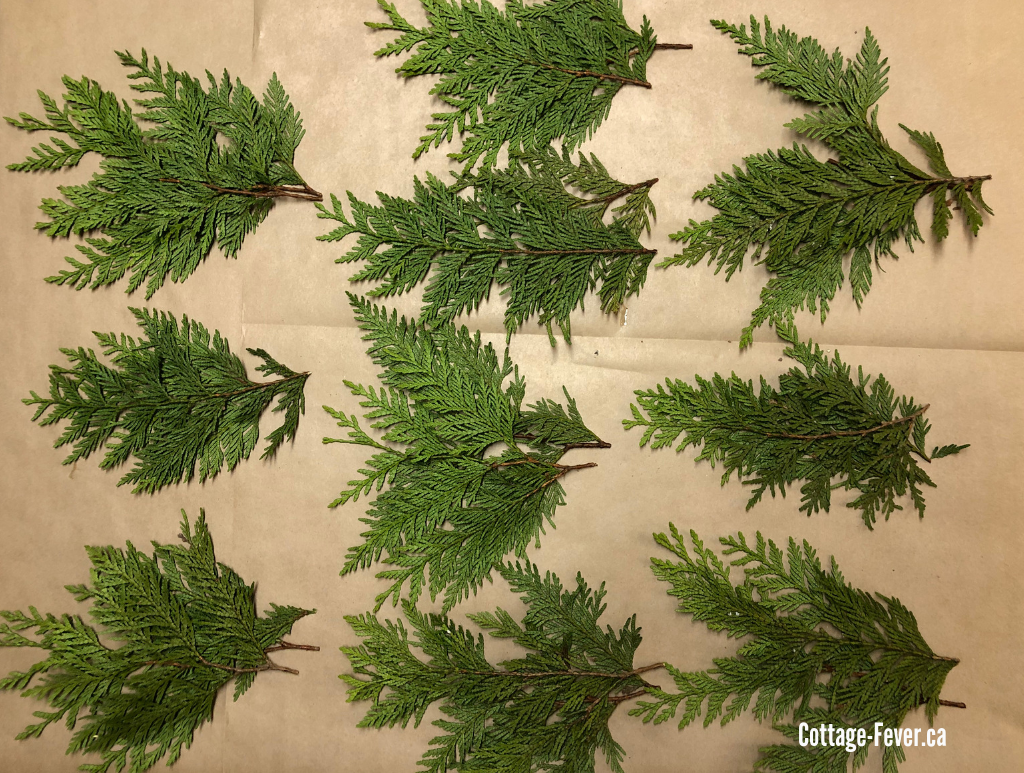
I start with the cedar as it makes a good back drop for the wreath. Look at both sides of your material as you might prefer the colour of one side over the other. Two layers of cedar works well.
Lay them out on your work surface to make the job easier and keep it under control.
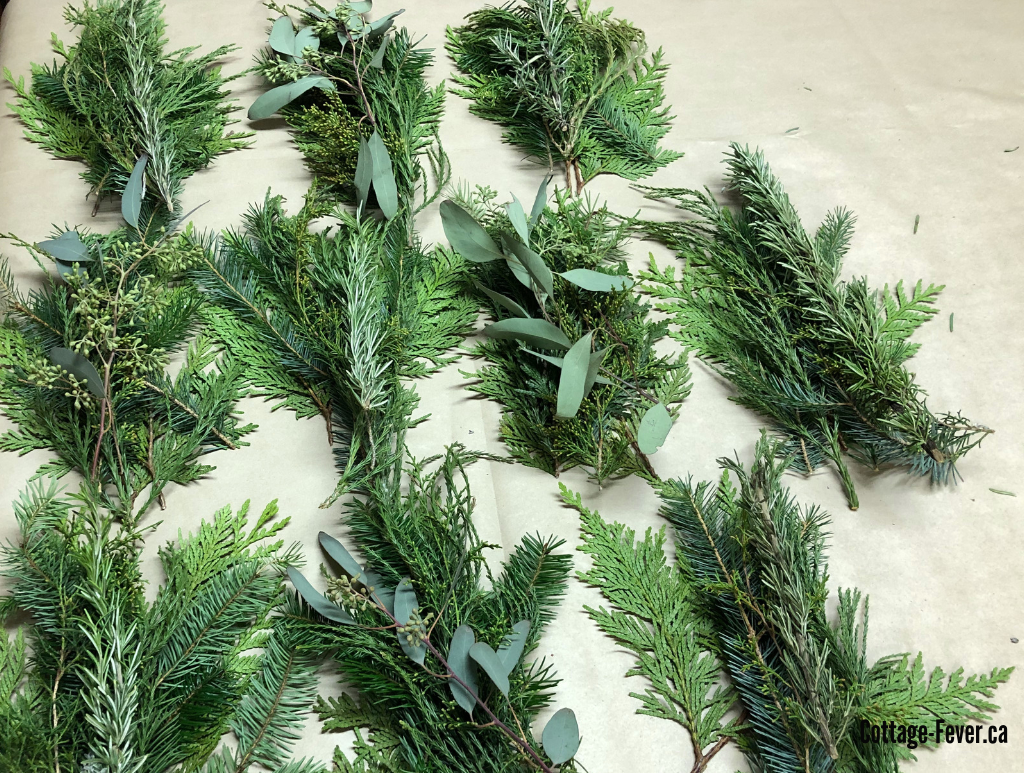
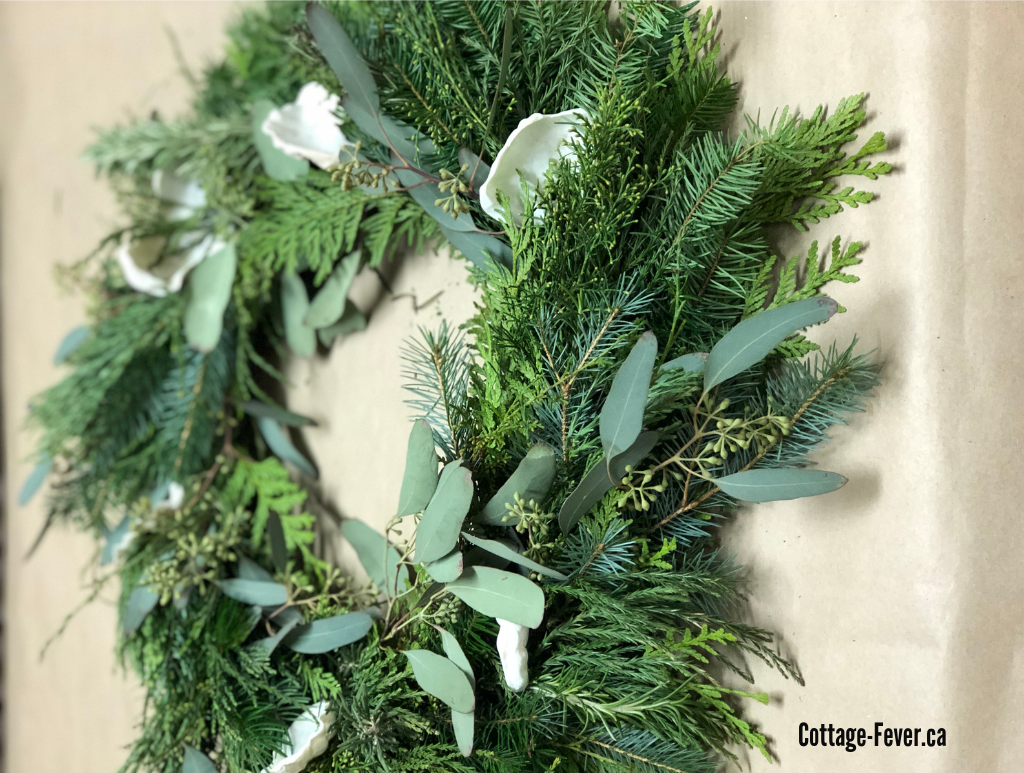
Then continue to layer in all of your other material with your accent botanicals on top.
In this wreath, because I was running out of botanicals, I chose to alternate rosemary with the seeded eucalyptus as my accent pieces. It’s beginning to smell a lot like Christmas!
Once you have all of your bundles or bouquets of material, it’s time to start attaching them to the wreath
Start by wrapping your wire around the outside of the wreath form to secure it.
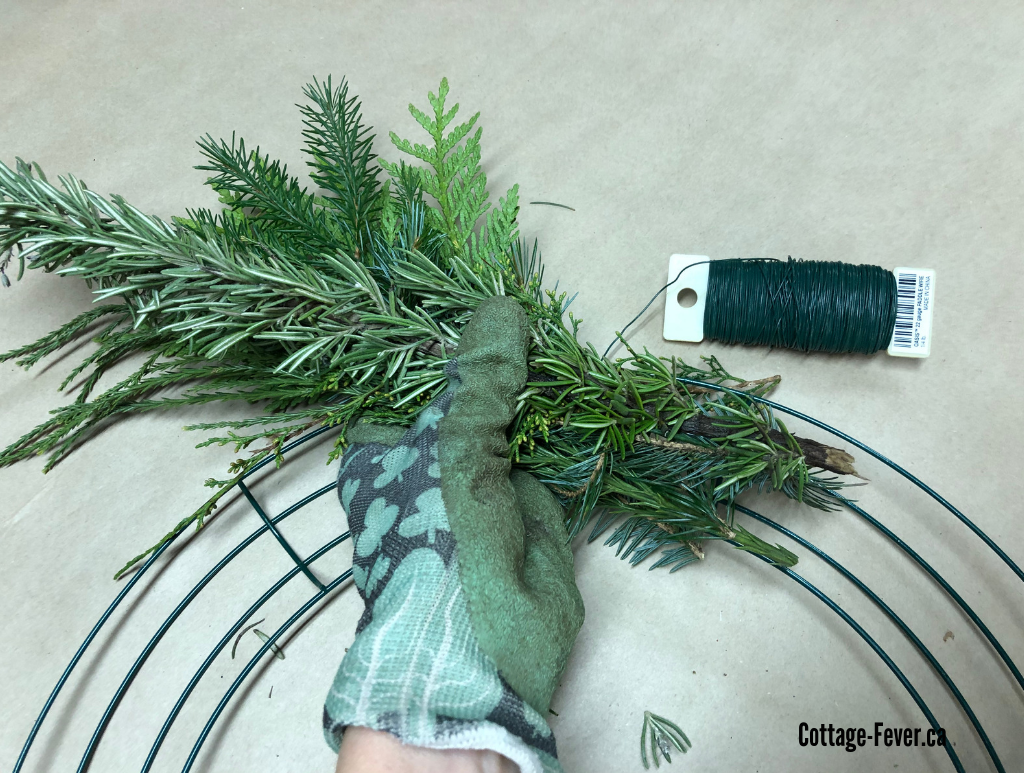
Take the first bundle and lay it across the wreath form at an angle
You want the ends to stick out off the wreath. The wreath form should have the concave side facing up. Then wrap the wire around the base of the bundle four times, tight enough that it’s secure but not too tight that the wire frame begins to bend. The branches will shrink as they dry so you want them firmly secured.
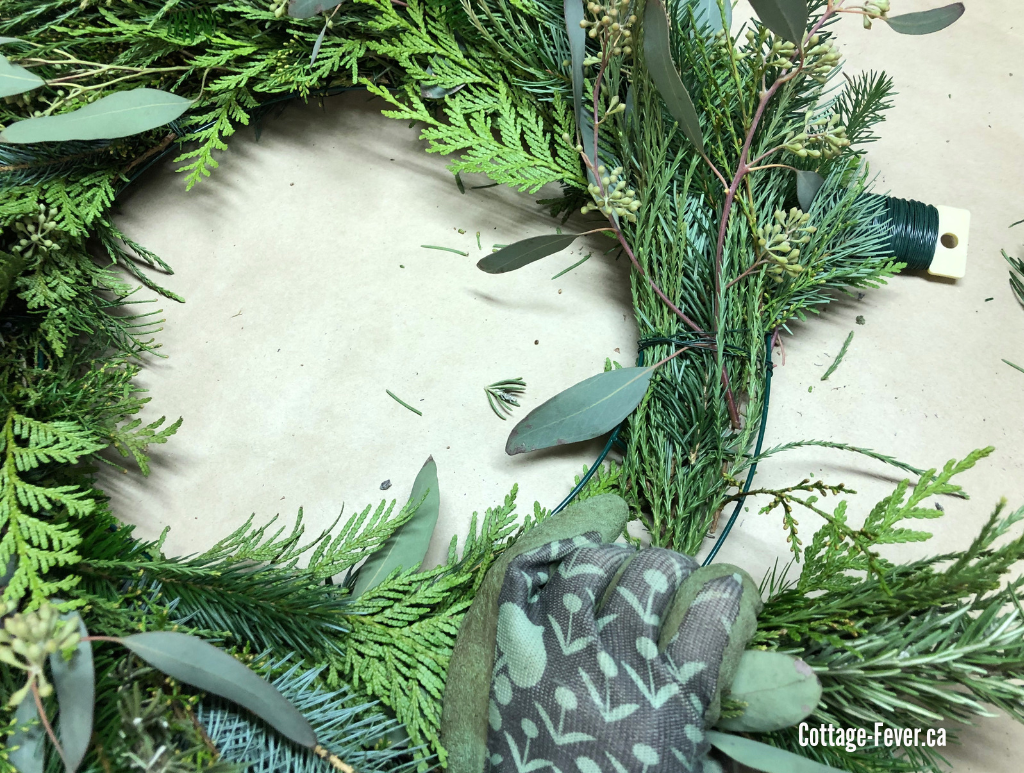
The next bundle gets laid across the stems of the first to hide them and the wire, also at an angle.

Alternate your bundles, aka “bouquets”
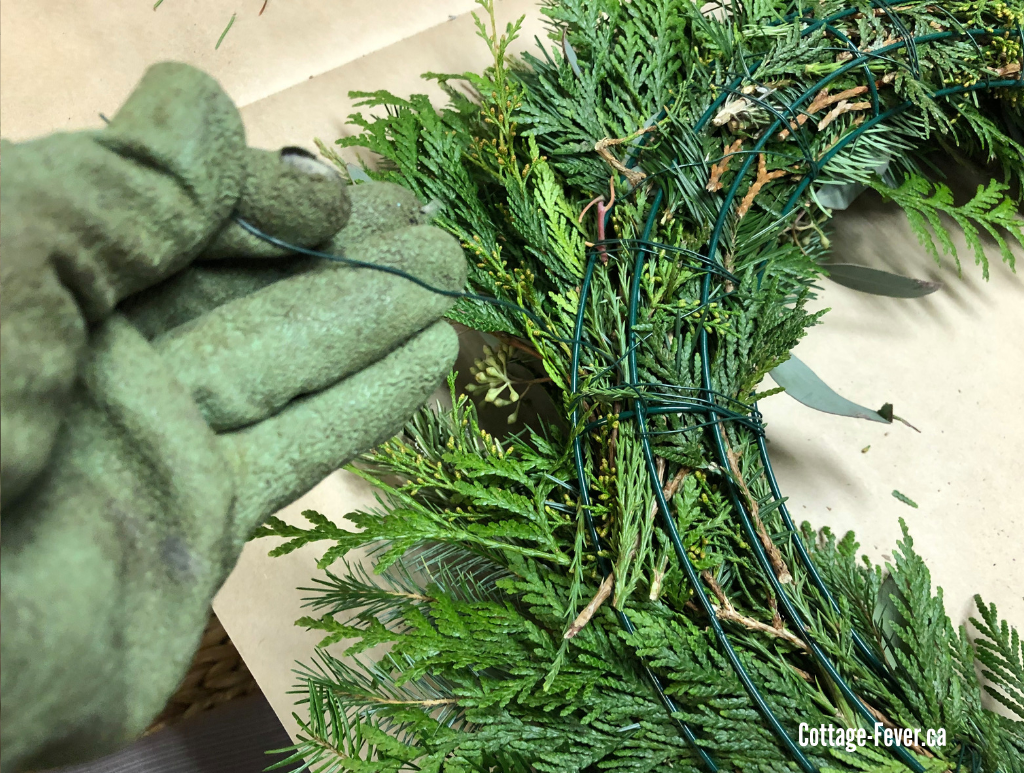
You’ll notice that I alternated the rosemary bundle with the eucalyptus bundle. Continue wiring on bundles as you work your way around the wreath, fanning them out ever so slightly.

Don’t worry if the wire is showing anywhere or some branches seem too long as you can go back later and add in or trim as needed. It is important that the bundles are tight enough that the wreath will withstand winds when its hung on your door.
When adding in the last bundle, lift up the first one and tuck it in underneath
Tying off the wreath is simple
Just flip it over, cut the wire with your clippers and secure to the form. Check to make sure that no stems or wire are sticking out that could scratch your door.
Check for bald spots
Now take a look at the wreath and check for bald spots and fill them in with extra greenery. For instance, you can add decorative accents at this point like wiring in pine cones or a ribbon. For mine, I wanted a coastal look so used some oyster shells that I had collected on the beach. I chose ones that already had a hole in them saving me from having to drill one. Fun fact, I learned that these holes are actually created by octopus! I cut a piece of wire and threaded it through the hole. Then I poked the wire through my wreath and tied it on by twisting, like I would a twist tie.
I liked my wreath but it didn’t feel “nautical” enough to me.
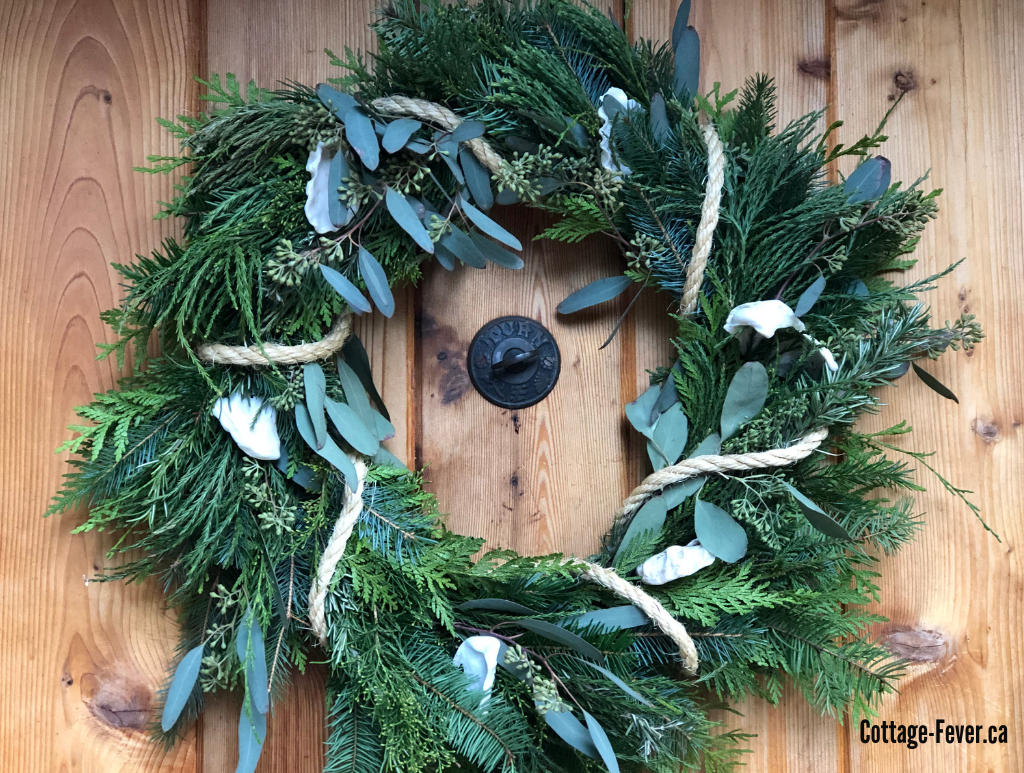
Adding in more nautical accents
In addition, by wrapping some rope around it like a ribbon give it the coastal inspired vibe I was looking for.
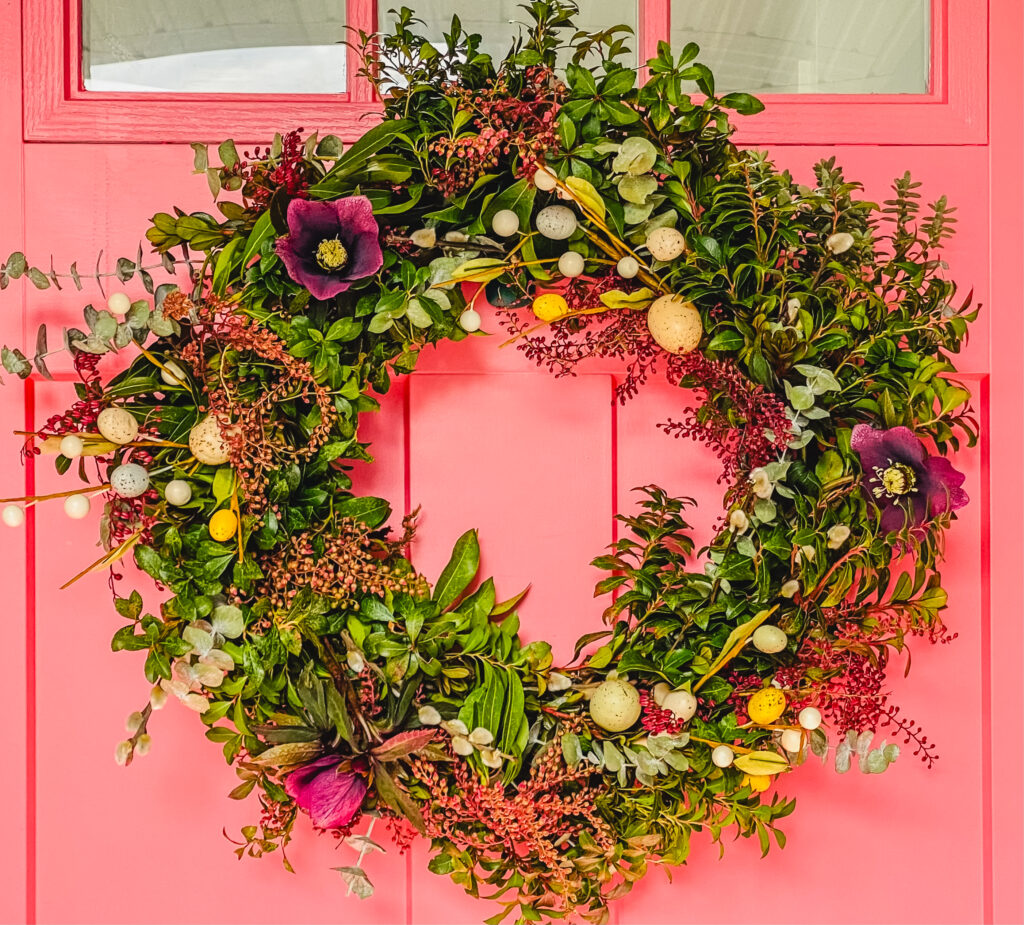
And wreaths aren’t relegated only to Christmas. You can make one for any season of the year, such as this beautiful spring wreath, incorporating Easter Eggs and pussy willows.
To sum up, I hope you enjoyed the tutorial on how to create a coastal inspired wreath. It really is a simple process and one made much more fun by doing together with a bunch of friends over brunch. And if you’re interested in other coastal inspired projects, here is one for making an oyster shell garland. Would make a terrific Christmas gift for someone special!