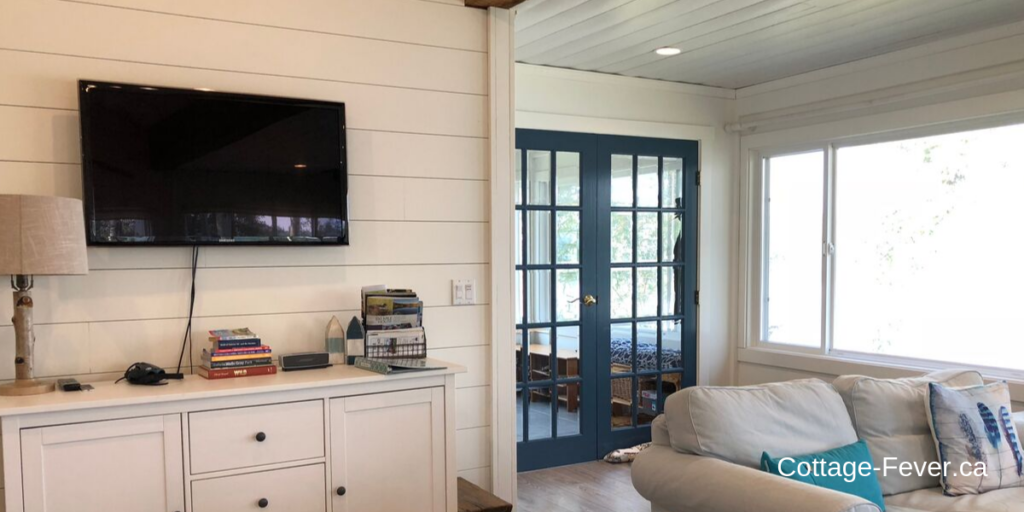
With our clean white shiplap walls, I hated the various electrical cords hanging down from our wall mounted TV at the cottage. Pottery Barn has a great burlap cord cover listed for $34 on their website but I am five hours away from the closest PB and I don’t have a mail box at the cottage so I put on my crafty pants and got to work.
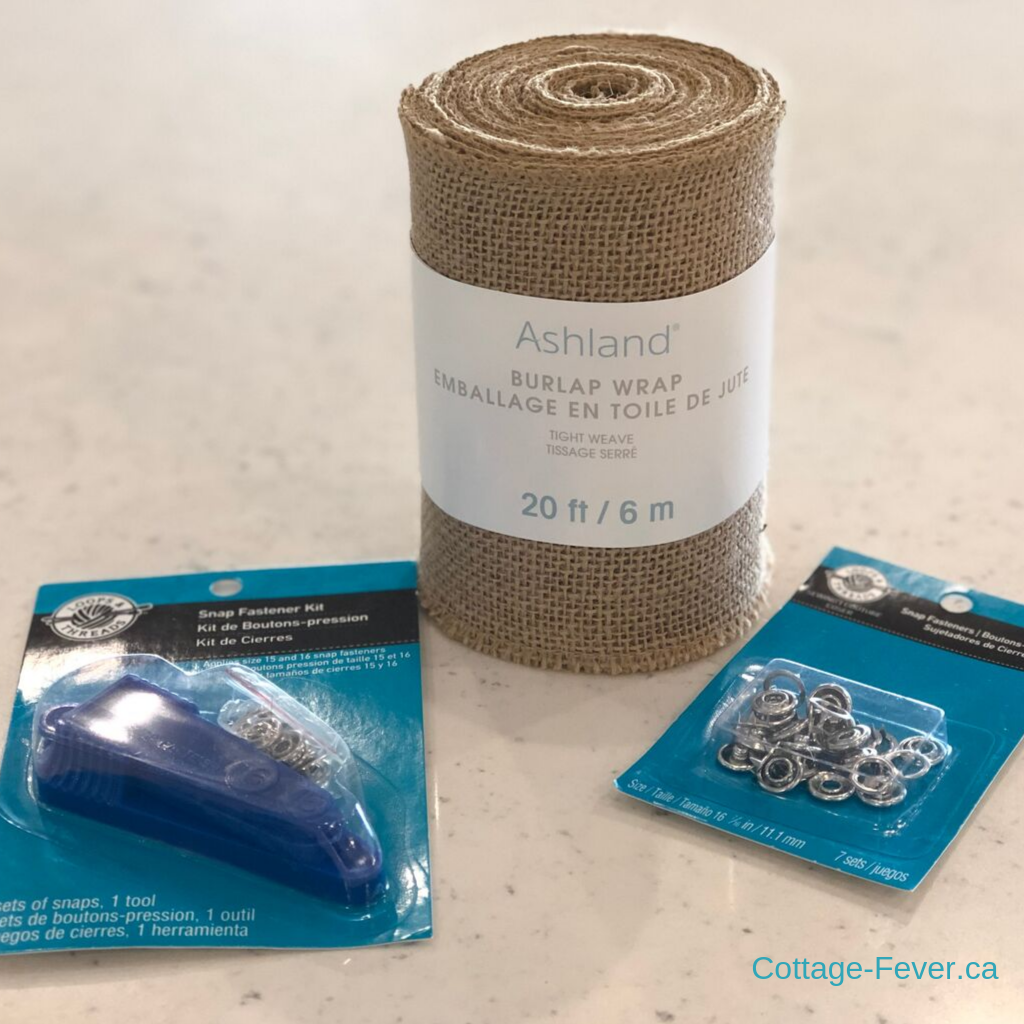
We did have to make a trip to the largest centre close to us, an hour and a half away, so I popped into the Michael’s there and bought some supplies. This roll of burlap fabric was just the right width (approximately 6″ or 15 cm) to cover the cords. I bought the snaps and tool for closing the the cover. With a tighter weave in this burlap, the snaps will have enough stability to stay in place. There won’t be a lot of wear on them as I won’t be opening and closing them often, if at all.
I measured the length of the cords at around 4 feet but I wanted the cover to be able to be bunched up (technical term) to give it a bit of life and texture. And also to help it stay in place. So I cut the burlap at a six foot length.
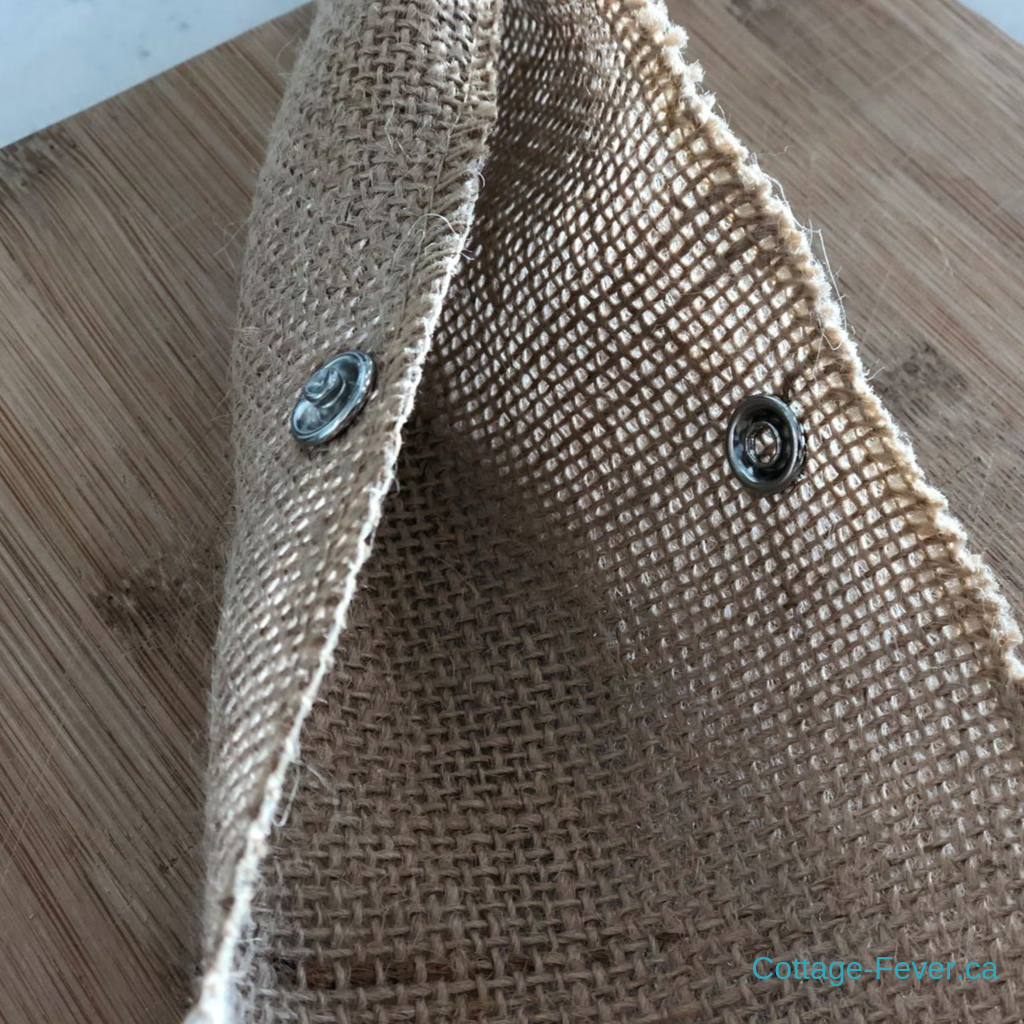
I read the instructions on the “Snap Fastener Kit” for how to fasten the snaps onto the burlap. I like to think that I’m a fairly smart person but it wasn’t making sense to me. In the end, I managed to figure it out but I suggest buying more snaps than needed as you might mangle a few like I did.
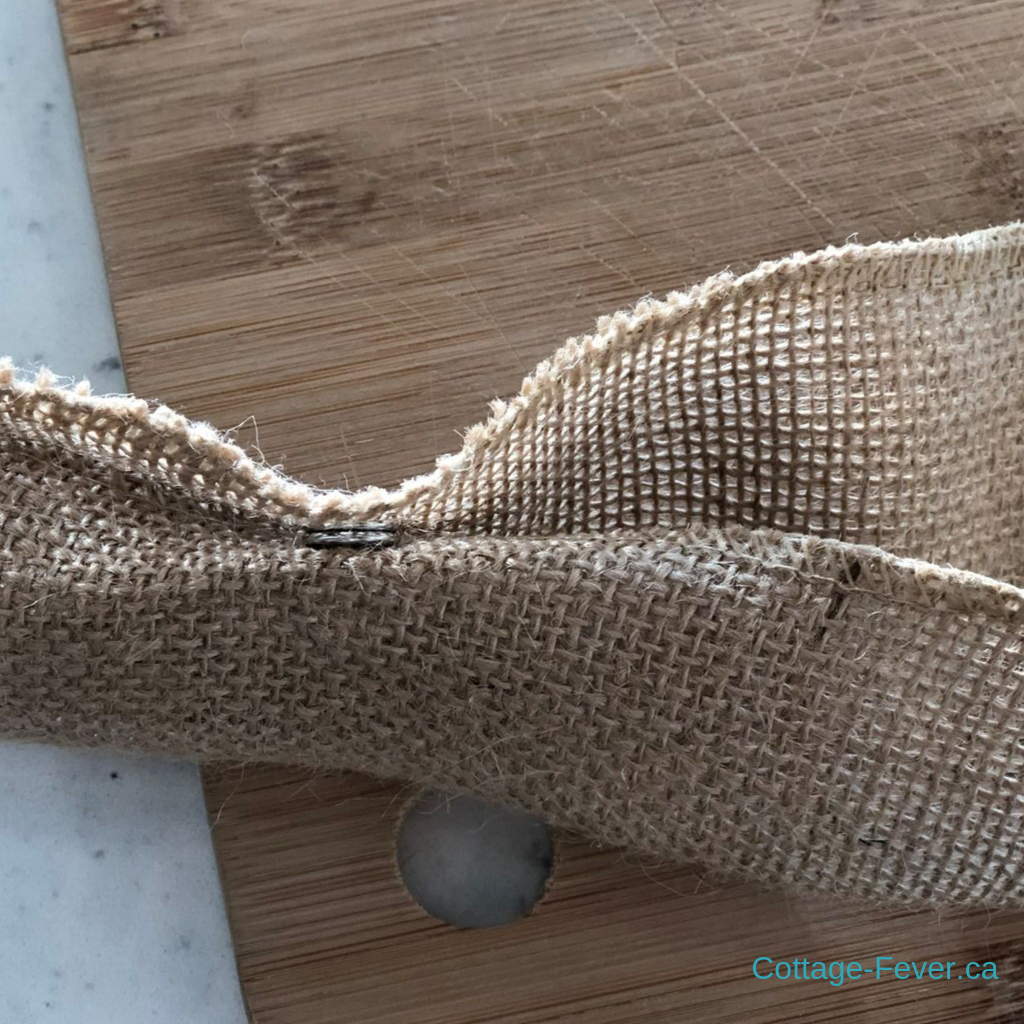
The first snap I ended up putting on the wrong way. It’s a little counter-intuitive as to which side of the burlap the snaps should be fastened. The instructions said right side to right side, going by memory, but I wanted this to wrap around my cord so one snap was on the right side and one on the wrong side. I used a hammer on the tool and made sure that I had a wooden cutting board underneath it all so I didn’t damage my quartz counter top.
I ended up running low on snaps. I had bought over 14 sets but with the ones I ruined I ended up with just the 14. Each set was placed approximately every six inches or 15 cm. This was plenty for my purposes.
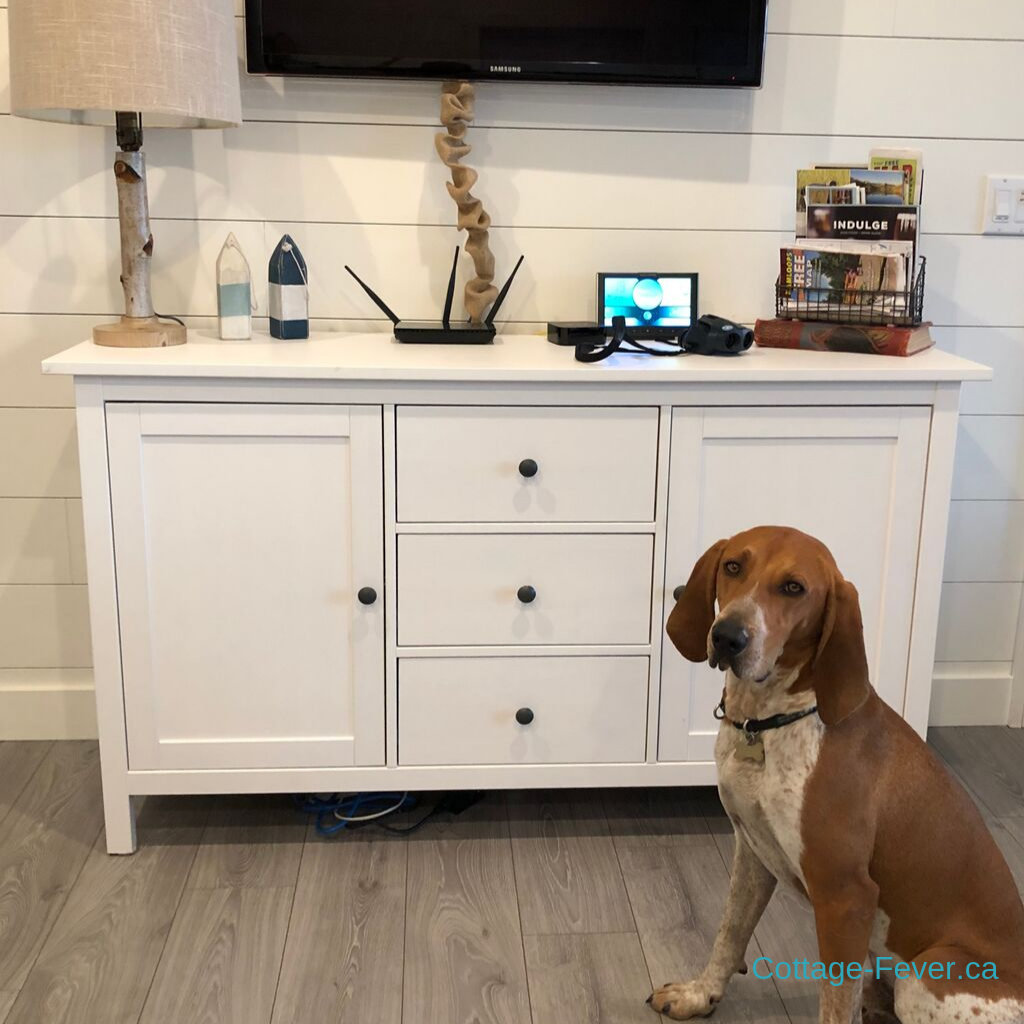
In the end I’m pretty pleased with the result. So is Trigger. The total cost was approximately $20 with plenty of burlap left over for another project plus I have the snap fastener tool should I ever need to use it again. The time commitment was also minimal at less than an hour. I like how the burlap picks up on the lampshade and echoes the rusticity of the lamp base as well as other natural elements in the cottage. If you decide to give this project a try, let me know how it turns out by commenting below!