The dreaded R word – Renovating the cottage
The other day I was putting together a spreadsheet of all the capital expenses we had incurred at our first cottage. You see, we sold that cottage last summer so I had to pull this info together to calculate the capital gain, or in our case loss, for income taxes. The exercise brought all the memories screaming back into my head of the trials and tribulations we went through over 11 years of ownership. We’ve since bought another cottage one lake over and I’m determined to get those renovations all completed right away so we can spend the rest of our time there enjoying it rather than worried about getting it done.
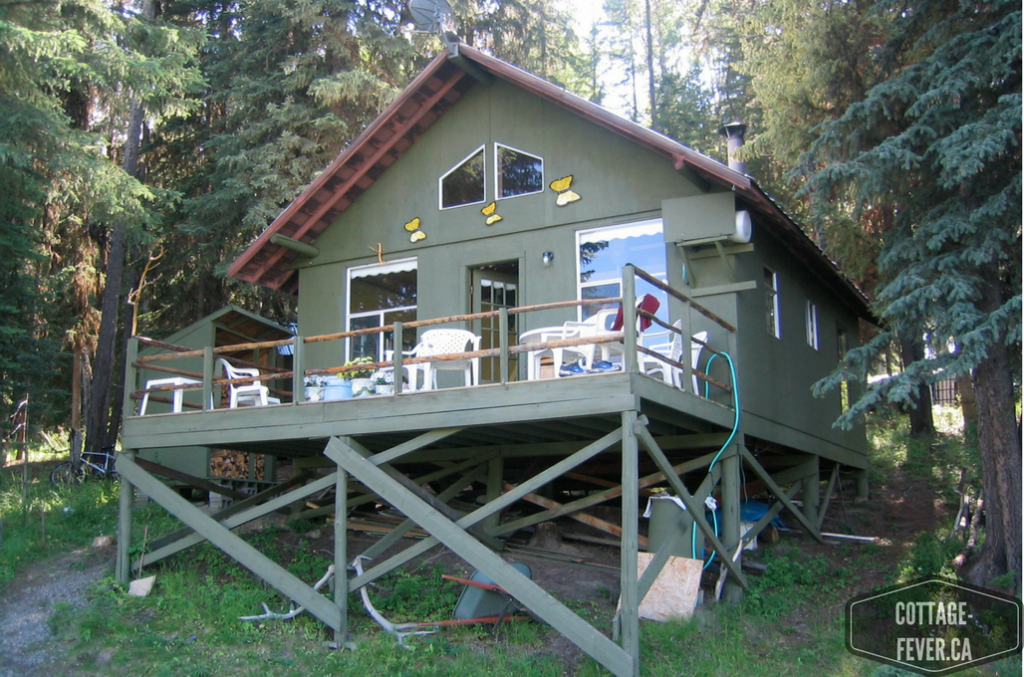
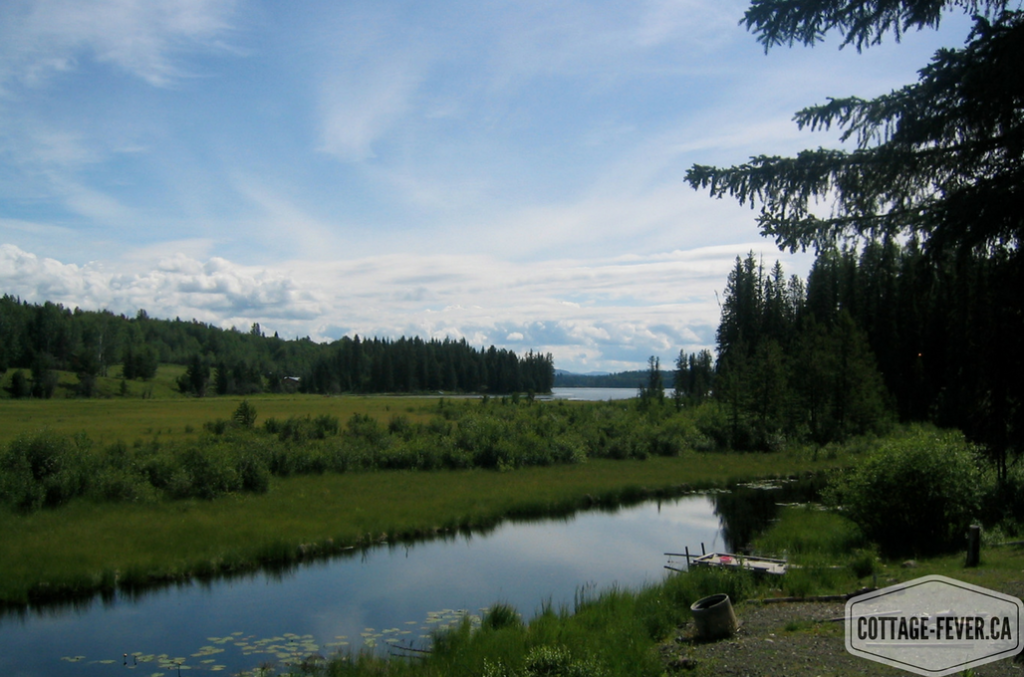
Back in 2005, we dipped our toe in the waters of being cottagers. Get it, toe, water, cottage? The place we bought was not directly on the lake, but had lake access via a canal leading to the lake which we thought was a good start. An additional $100,000 to purchase a lakefront cottage didn’t seem prudent to us at the time. The cottage we ended up purchasing had electricity but no running water. No big deal we thought. We’ll put in a septic system and drill a well right away and Robert’s your mother’s brother (Bob’s your uncle). Some cottagers pull their water directly from the lake but given that we were on a murky canal, that was not an option for us.
Drilling the well
That September, we partnered up with the neighbours who also needed a well and brought in a crew from the nearest large centre, one and a half hours away. By doing two jobs at one time, we were able to save on their travel and hotel expenses. The neighbour’s place had easier access so they started there first. When drilling for a well, you pay by the foot. They went down 40 feet and hit beautiful clean water that was gushing! We were excited as this boded well for our well.
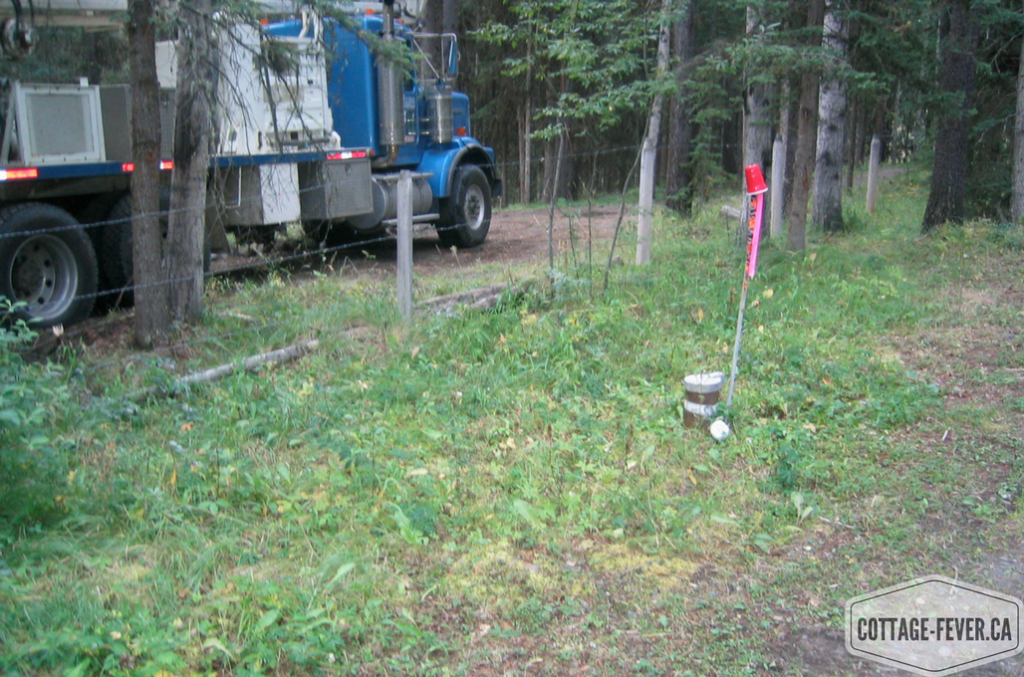
The next day, the crew came to our property. They had two trucks and could only get one close enough to the site so we gained permission from the neighbours on the other side to use their driveway. Choosing the site for the well can be a bit tricky. The well must be 100’ from water (the canal in our case), and any septic system, including your neighbour’s field and the tank. It must be at least 10’ inside property lines, and some drillers will request you choose a spot at least 20’ from any buildings. You have to be aware of buried gas or electric lines in the area. If you’re in BC you can check by making a BC One Call at 1-800-474-6886 or on your cell phone at *6886. The BC Ministry of Environment’s website has a mapping program that shows well locations, depths and quantity of water. We knew we had buried electrical lines but in 2005, BC One Call didn’t exist so we had to find them on our own by doing some very careful exploratory digging.
Drilling commenced. As they approached the 40′ mark, we got very exited. We were getting close now. But then they hit 50′ and no water. 60′ and no water. I could see dollar signs at every foot mark. $50, $100, $150… At about 100′, mud started flying everywhere. I mean EVERYWHERE. It hit the back of the cottage and coated a wall, it coated the shed, it coated the ground. A pipe had burst down in the well. Panic. Could the pipe be fixed or would it have to be replaced by spare parts that were one and a half hours away. They managed to fix it and begin drilling again. We finally hit water at 160′. The water was okay, a bit smelly and a trickle at 2 gallons per minute compared to our neighbours but our drilling team assured us that was just fine. It was really unlikely that we could ever run the well dry based on our estimated usage. Total cost for drilling in 2005 dollars: $5000. Add to that the cost of the pump in the well, $2800. Then of course you have to test your water, $223. Just to wash our dishes, flush the toilet and have showers. But to me worth every penny.
Installing the septic
Now that the water was in, we could install the septic but that would have to wait until the following summer. We asked around for references in the area and were given the name of a dude in his seventies. Sweet guy who knew his stuff and was licensed to install a septic system. First came the perc test to determine the site of the septic field. A percolation test (colloquially called a perc test) is a test to determine the water absorption rate of soil in preparation for the building of a septic drain field. We had a large space at the back of our 3/4 acre property that was treed which would work. So Ken the septic dude guy bulldozed all the trees which I found a bit shocking at first. He pushed them into a large pile at the edge of the field which is exactly where they stayed for the next 11 years as we just didn’t get around to dealing with them having other priorities. He then installed the tanks directly behind the cottage. Our plan was to then renovate the cottage adding on a bathroom. Our regional health authority requires that an “Approved Person” which is the septic installer files a “Record of Sewerage System”, including the plans, and after he or she has installed the system, files a “Letter of Certification” along with a maintenance plan to finalize the system. There is a one-time $200 fee for filing a Record of Sewerage System. The submission of a “Letter of Certification” is required within two years of the original “Record of Sewerage System” filing date. Total cost for the septic system came in at $13,000. Yay – no more outhouse! Or so I thought.
So that was 2006. Fast forward to 2009. You see, the area in which our cottage is located was going through a huge building boom. So huge in fact that a RONA opened up right behind the general store. In the middle of nowhere. Trying to find a contractor who would take on a small cottage addition when he could be building entire cottages was next to impossible. We would line one up and then he would bail. That happened three times. Then we finally found someone who luckily could squeeze us in between two large builds. Rudimentary plans were drawn, building permit approved and work begins. So remember how we installed those septic tanks right behind the cottage? Fools! We had to pay to have them moved in order to put on the addition. We had originally thought that we would go out the side of the cottage but it was too close to the high water mark. Our regional district dictates that we cannot build closer than 25 feet from the high water mark and because of our boat slip, we didn’t measure up . The existing cottage, built in the 1970’s does not even comply with this bylaw. Lesson one: have your building plans completed before installing tanks. Cost to move them: $3000.
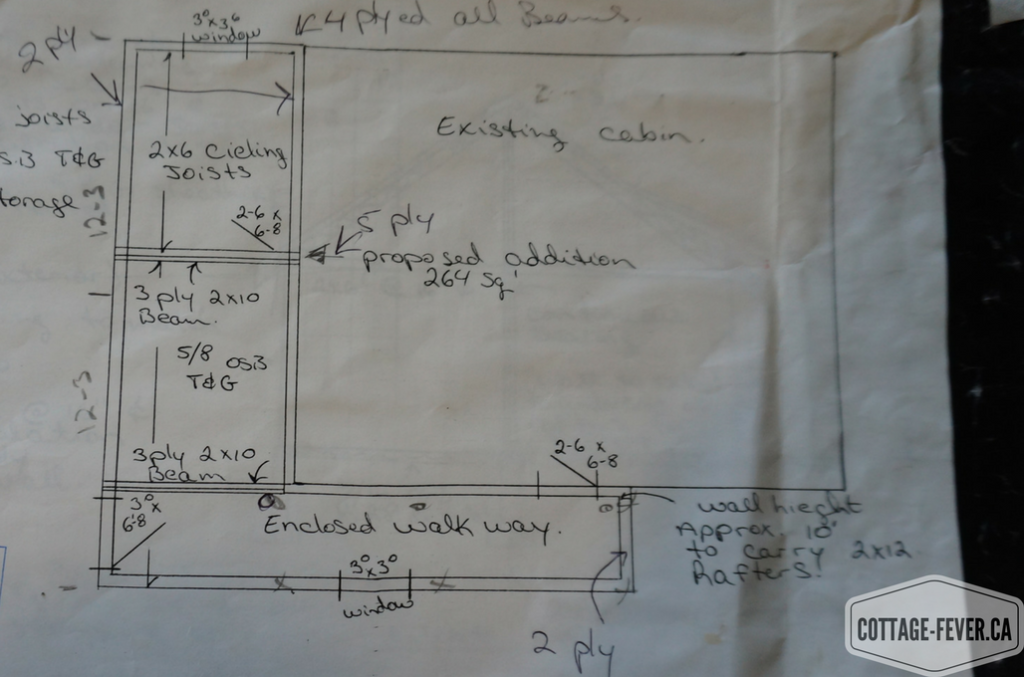
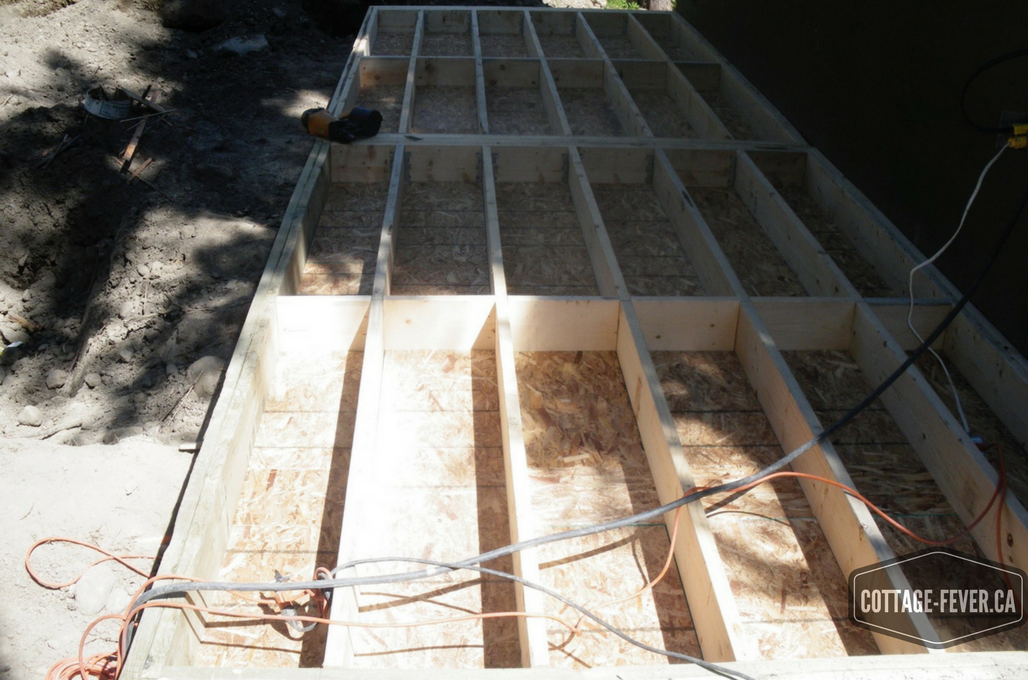
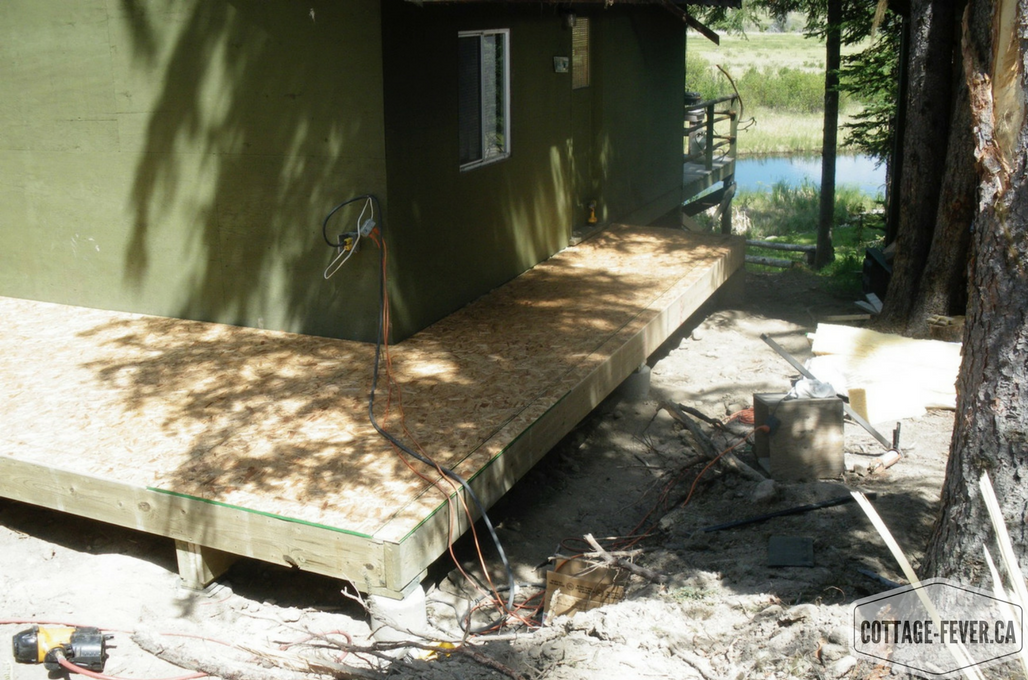
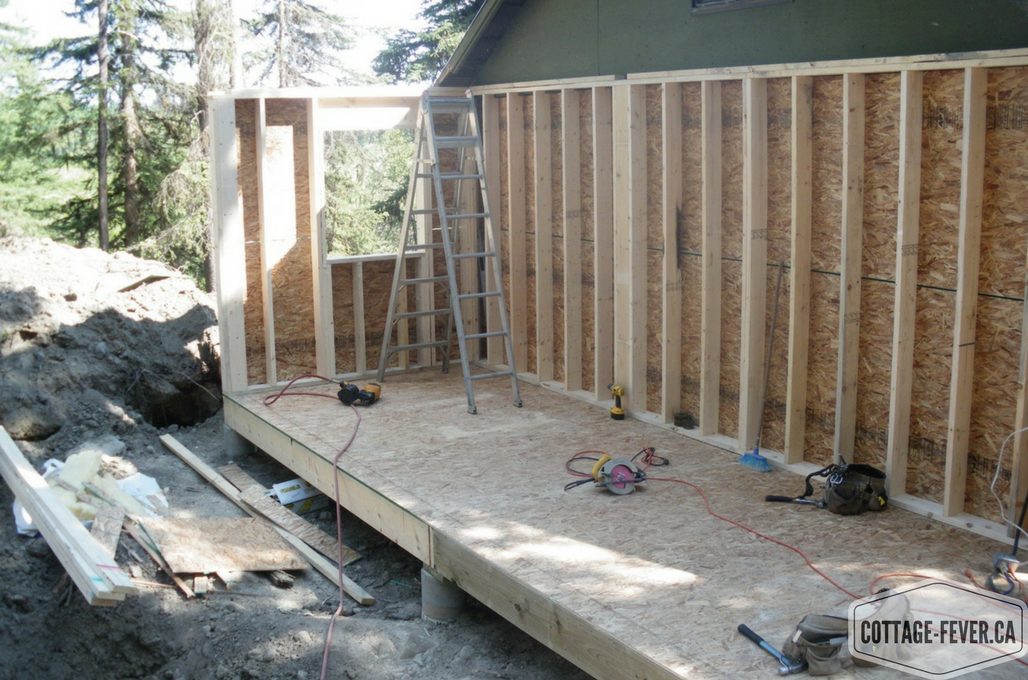
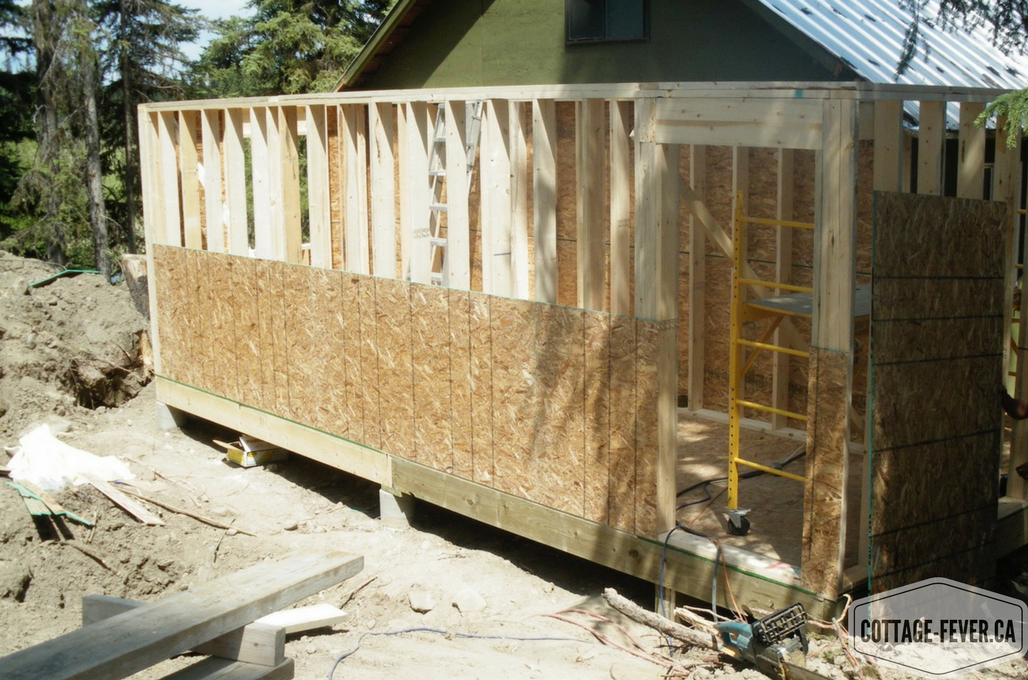
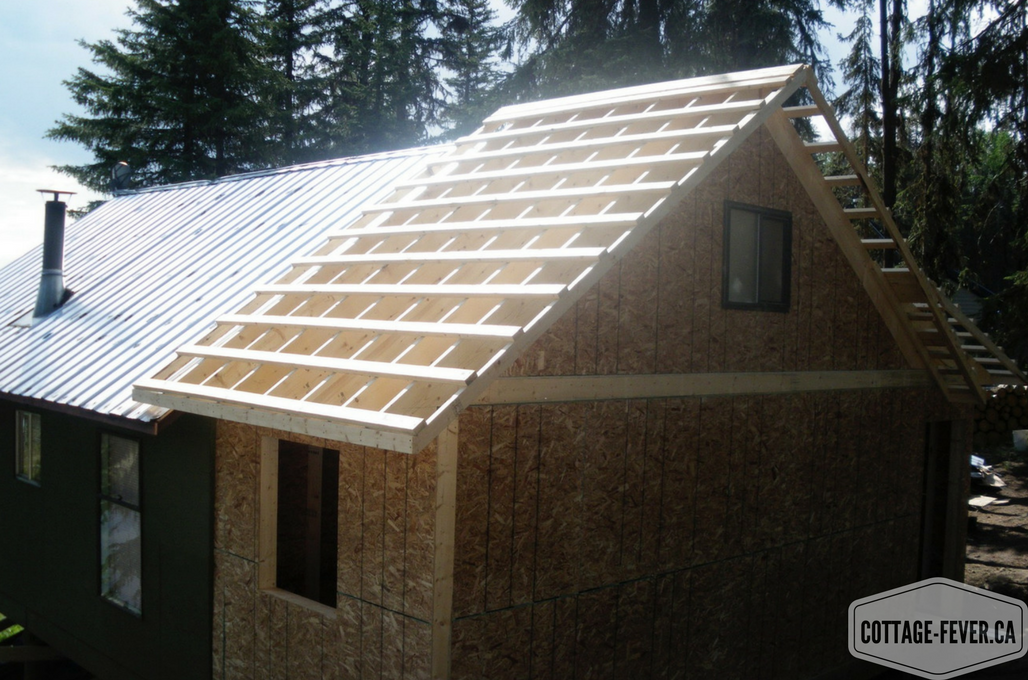
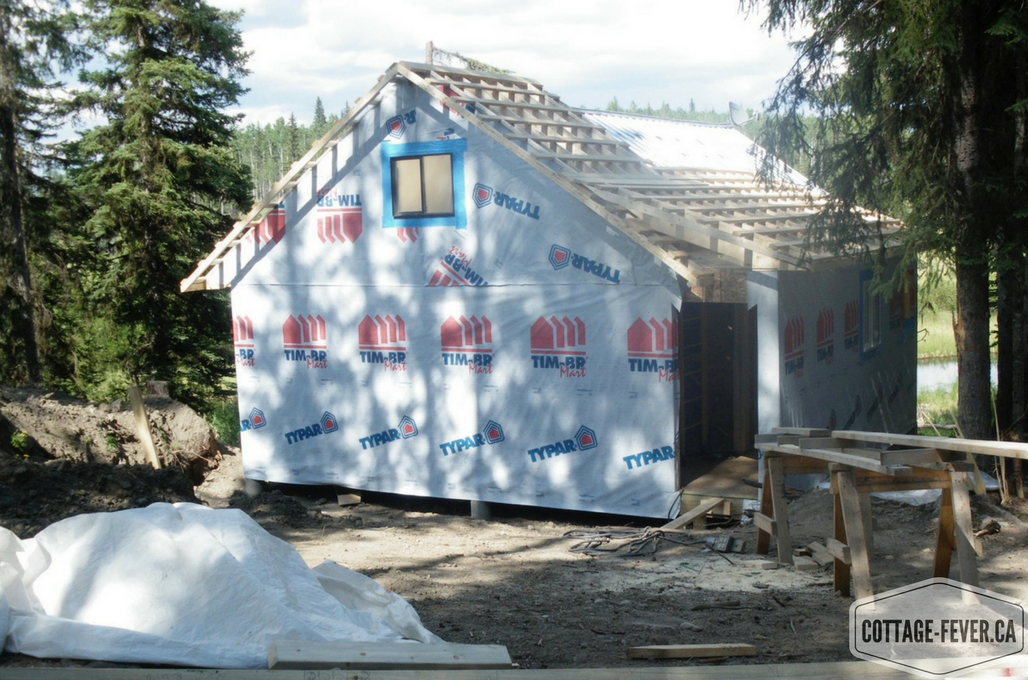
Building the addition for a mudroom and bathroom
We decided on a very simple design that would be built around the original cottage. We added eight feet across the width of the cottage at the back and then a hallway down the side where we would enter the cottage through the original doorway. This meant that we would have one bedroom where the window opened into the hallway rather than outside but heck, it’s a cottage after all.
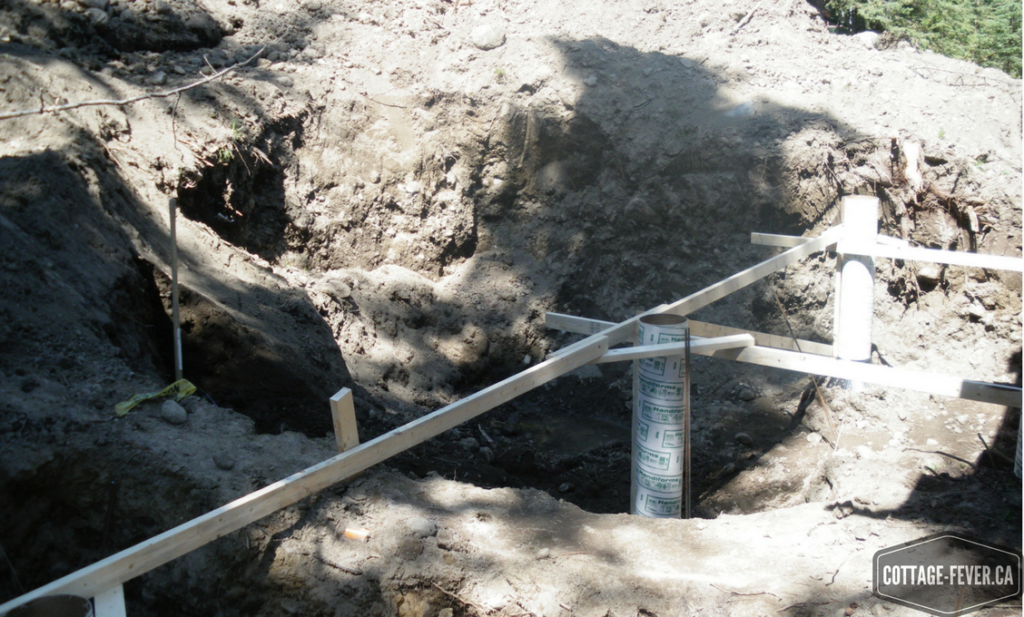
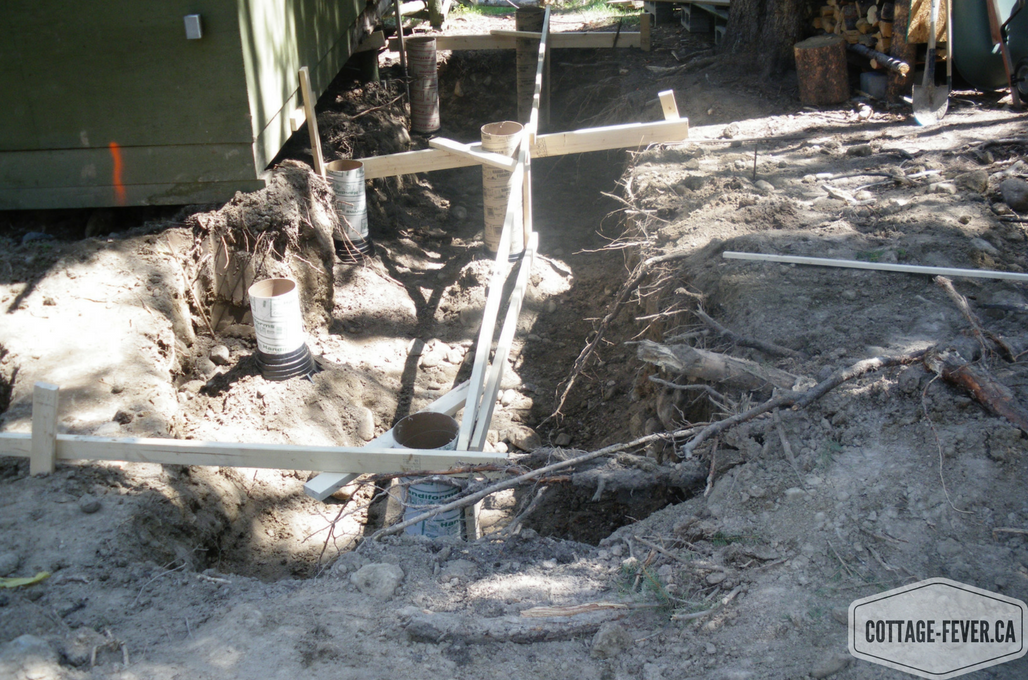
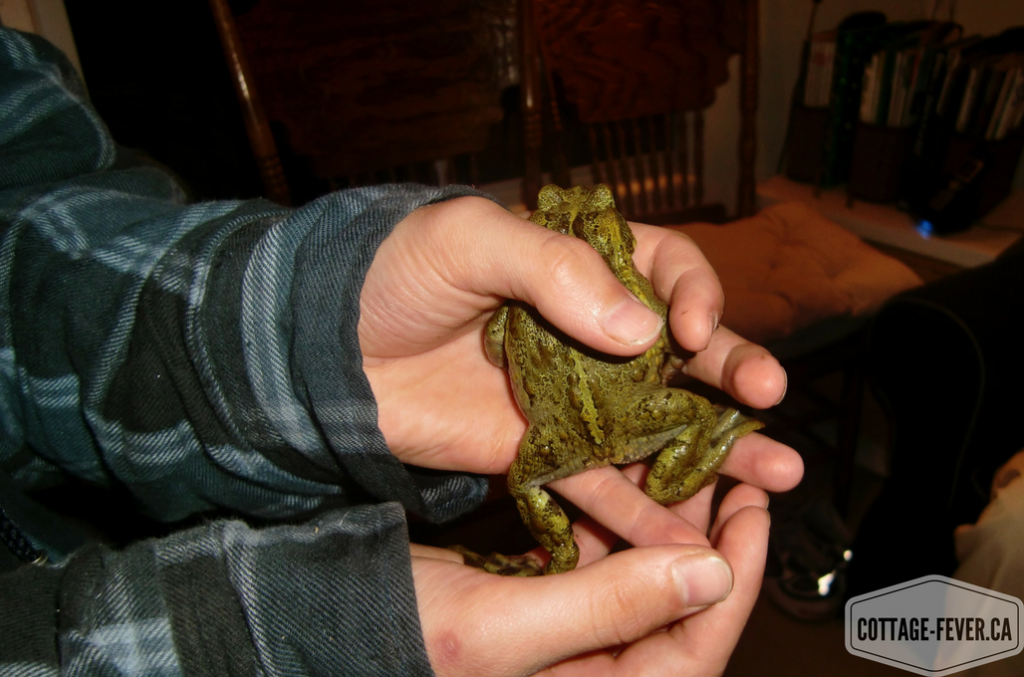
Digging commenced for the foundation and the sonotube concrete forms were poured. Then we got a “stop work” order slapped on us. What??? I called the building permit department and asked what was the issue as we were abiding by the permit and all regulations. They had decided that since we were on a canal, there could be sensitive frog habitat that would be disturbed with our addition. Local legend has it that the canal is actually man made. Someone back in the seventies took a back hoe along a small creek and dug it out all the way down to the lake, creating our eight foot deep by 30 feet wide canal.
And besides the fact that the canal was man made, we had already begun construction. If there even had been sensitive frog habitat it was already destroyed.
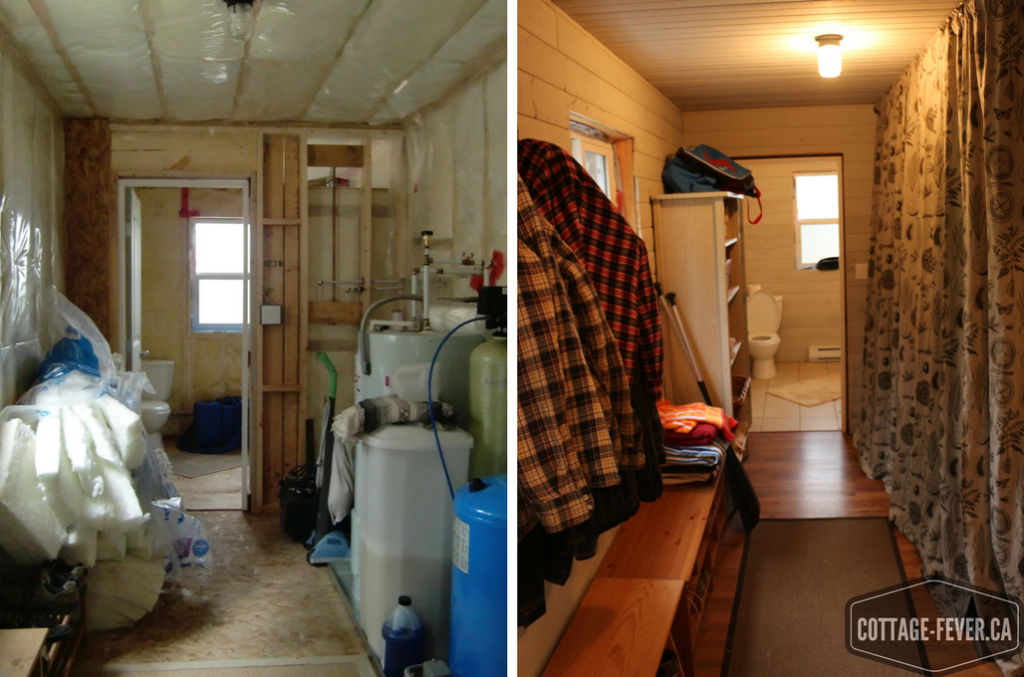
As I explained this to the head of the building department I was practically in tears, “Do you know how long I’ve waited for this bathroom? Four long years. Please don’t take it away from me”. We came to an agreement that we would sign a covenant that stated we wouldn’t build anything in front of our cottage. Crisis averted. Work continued. We gained a bathroom, mudroom with utility area and new hallway into the cottage. Total cost of construction:$24,046. And that’s before the toilet has even been installed. We’re talking bare floors and unfinished walls inside and out. Total frogs killed: 0. Lesson two: Building inspectors are real humans and will listen to reason. Crying helps.
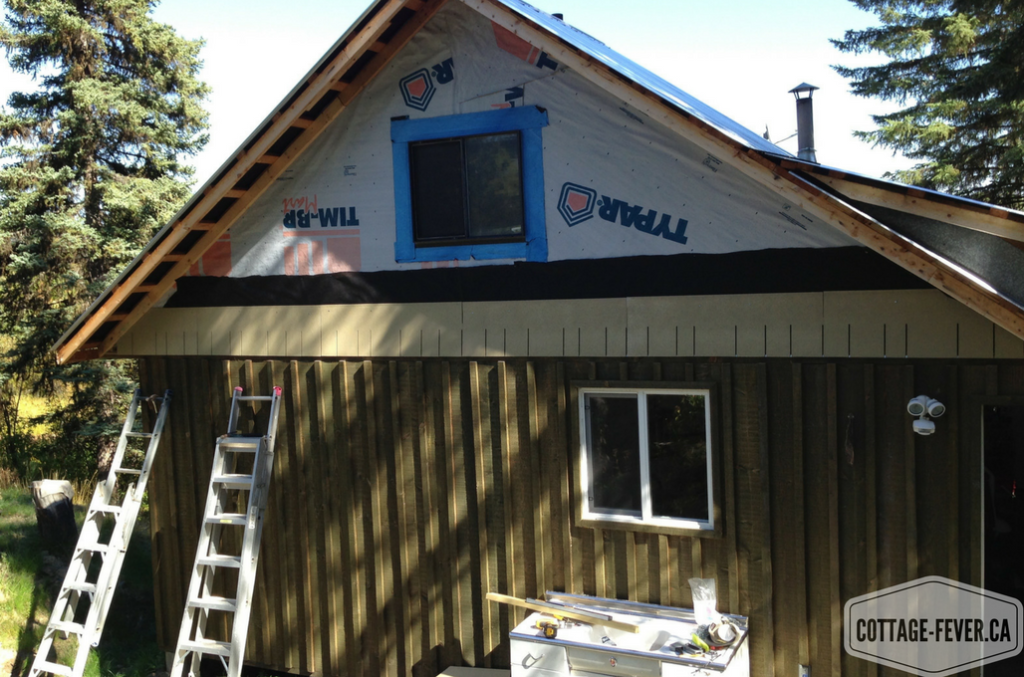
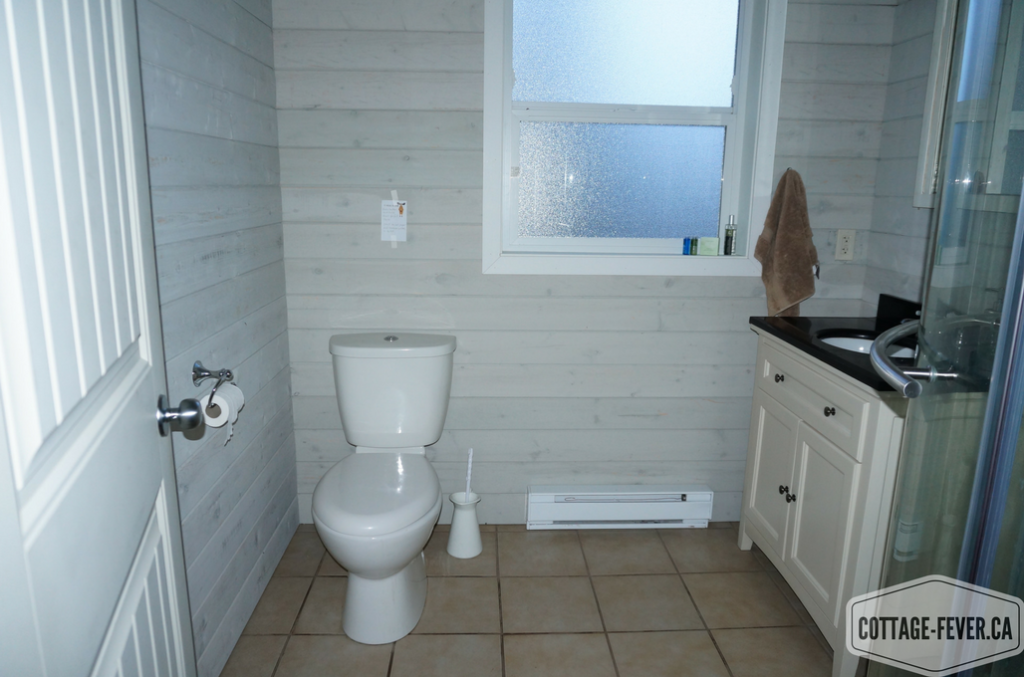
Finishing the addition – DIY
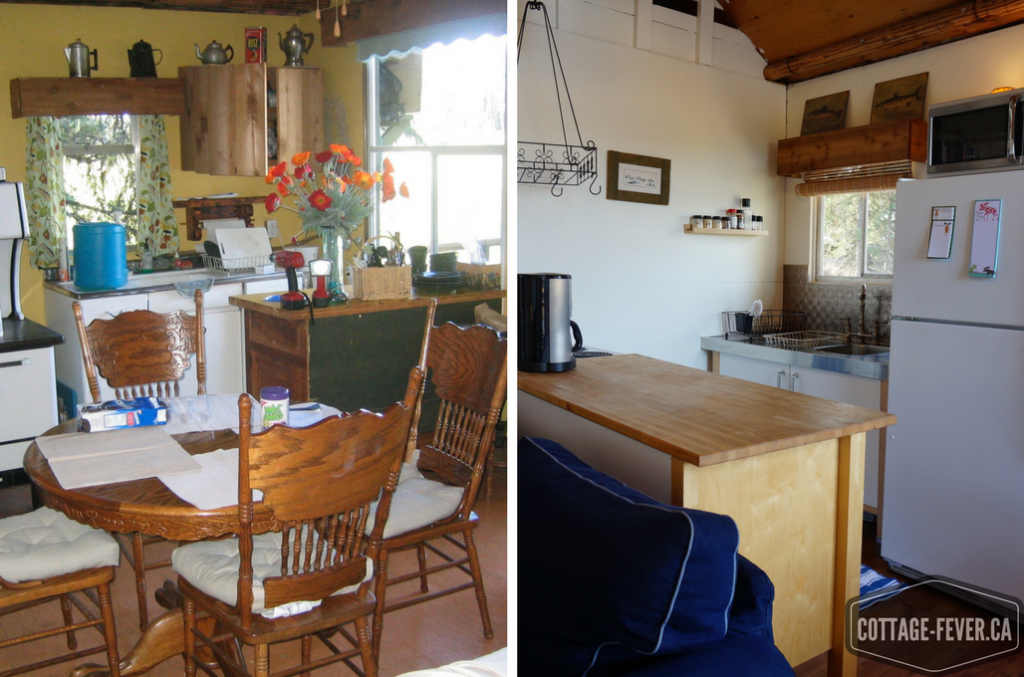
To save money, we had decided to do most of the finishing work ourselves. And when I say “we”, I mean the royal we. That meant installing flooring: $544, tiling the bathroom with leftover tiles from a project at home, putting tongue and groove paneling throughout the addition: $1778, toilet, shower, faucet and vanity: $1,840, water filtration system: $1242, exterior siding and stain: $1,068, painting, etc… In the living area, we reconfigured the kitchen, now that we had plumbing, which meant new cabinets: $1364. We bought stand alone cabinets from IKEA which saved us on installing them. They don’t seem to make them anymore which is too bad as they were ideal for cottages.

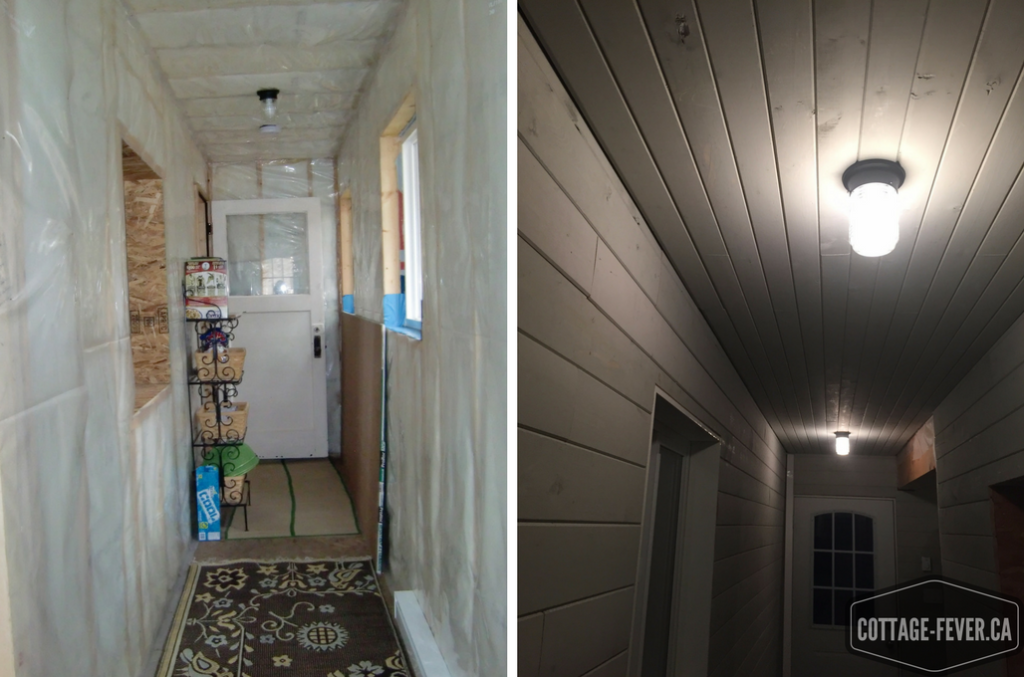
This finishing work was done over the last eight years. We just finished installing the last bit of tongue and groove in the hallway this past summer when we decided to put it on the market. We really loved the place but had outgrown it for various reasons. One of my brothers had bought his retirement home two lakes and 30 minutes away and we ended up spending a lot of time driving back and forth. The canal had been idyllic and safe when our sons were young but now our activity centres around wake boarding and it took 20 minutes to putt down the canal to get out on the lake. So we found a lakefront cottage on a crystal clear lake one over from our current lake and six minutes to my brother’s house.
When I finished my spreadsheet I saw that we had incurred a very small capital loss when all was said and done. But there was no loss. Buying that cottage and spending summers at the lake with friends and family was the best investment that we could ever have made. Cousins who would have been strangers, became best friends. And the frogs survived.
This was our experience renovating our cottage. This is not professional advice. Check with your local building department before doing any type of renovations.
Have your own renovation story? Please share it by commenting below!