How to craft an Oyster Shell Garland
The inspiration
I first saw the idea for this craft project in a store and (being creative) thought that I could easily make it. As it turns out, I was right! As it was such a simple project, I’m sharing how to craft an oyster shell garland with step by step instructions and photos.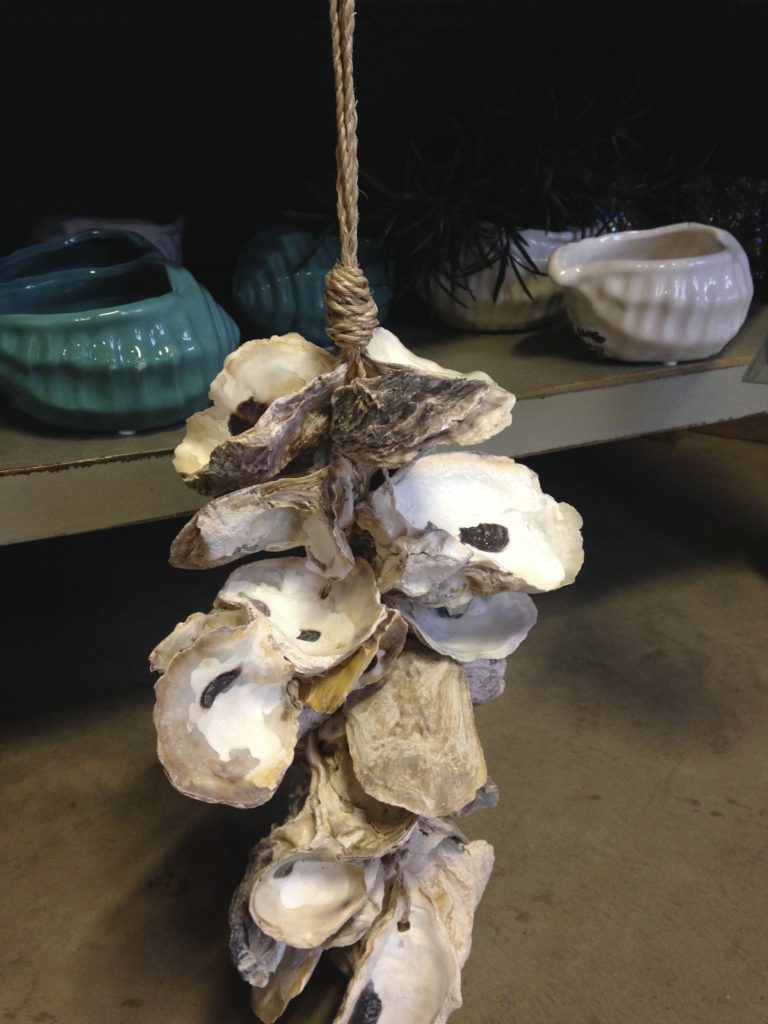
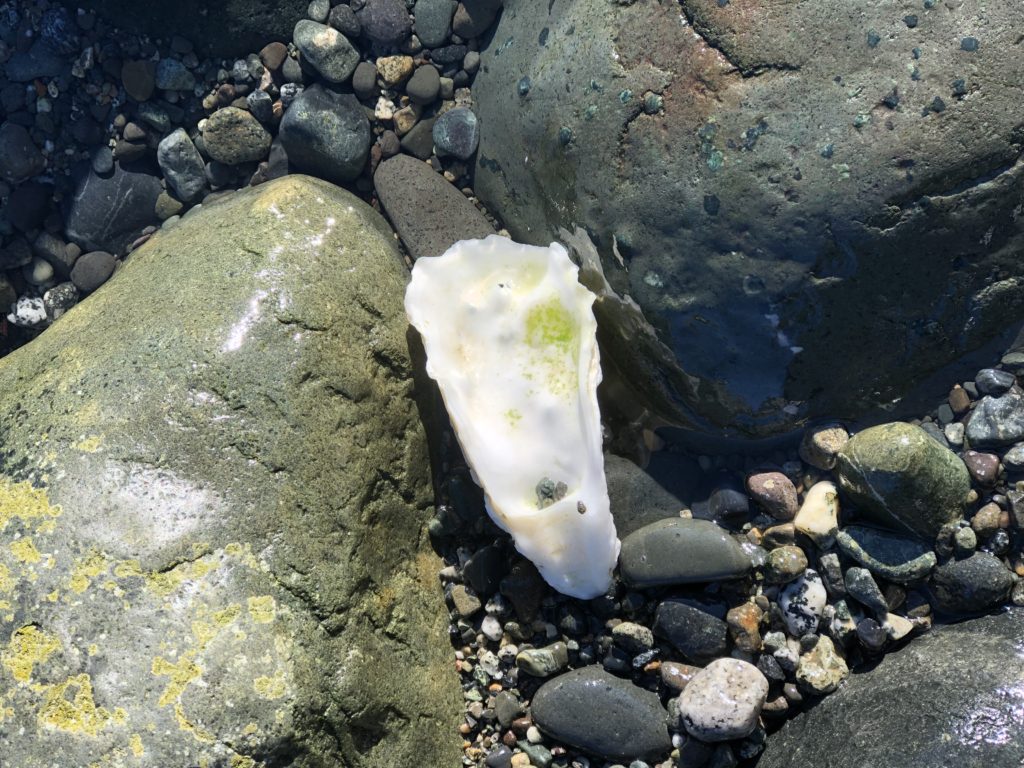
Living on a beach on Vancouver Island, I have access to an abundance of oyster shells. The seagulls are constantly dropping them to try to break them open on the rocks to get at the oyster inside and others just wash up with the tide.
Olympia or Pacific Oysters?
I’m not really sure if my shells are Olympia or Pacific Oysters. Native to this area, the Olympia Oyster measures between six and eight centimetres. They attach themselves to rocks and filter the ocean water, helping to keep the marine water clean. The Pacific Oyster was introduced from Japan in the early 1900’s and is now considered an invasive species. We can go out at low tide, provided it isn’t a red tide, and harvest them for ourselves. It’s no wonder that the local first nations have a saying that when the tide is out, the table is set. Fun fact: oysters can change from female to male and vice versa. Also a fun fact: when you see a hole in an oyster shell, it most likely was put there by an octopus!
Supplies:
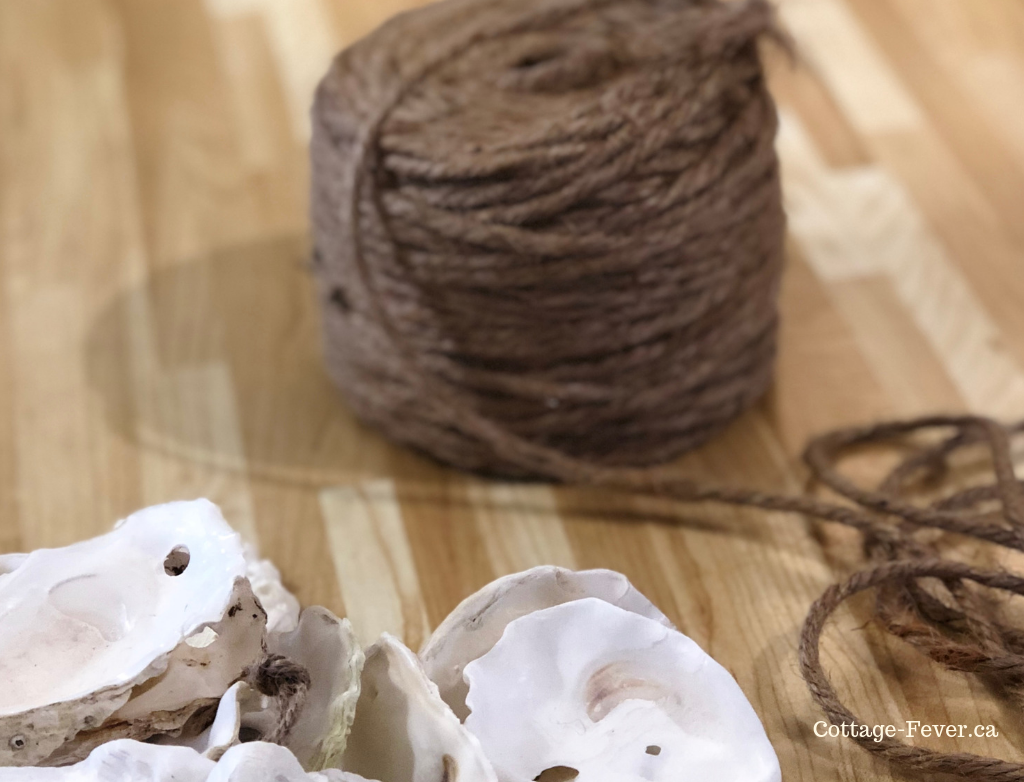
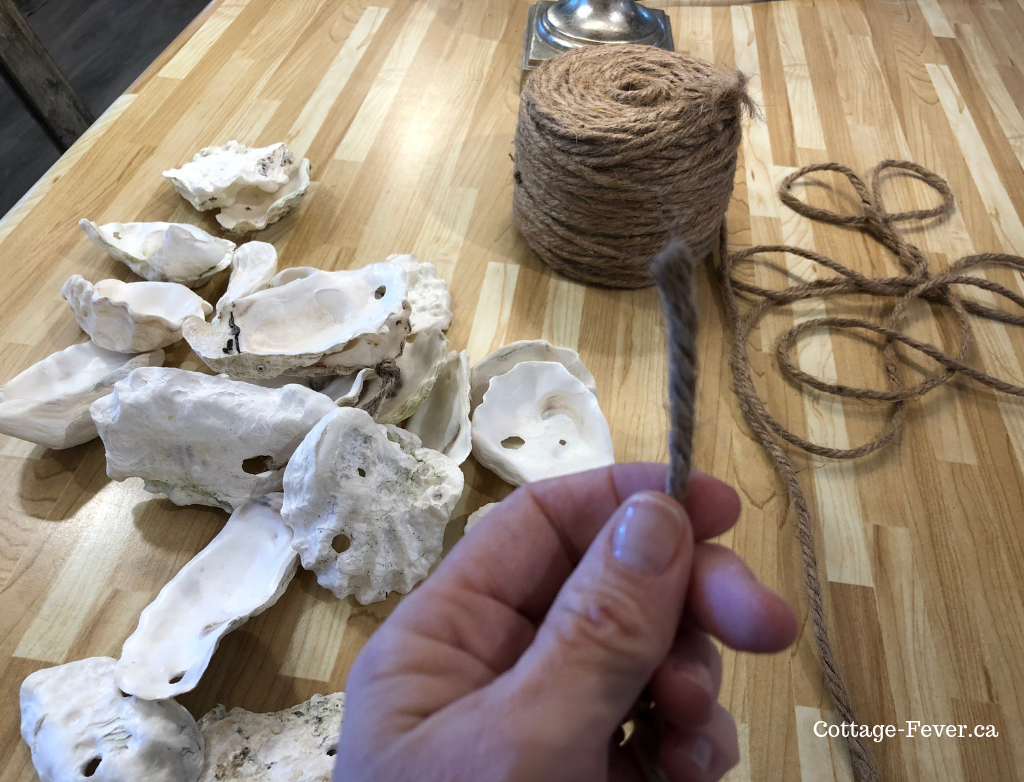
To make the oyster shell garland/wind chime, I first bought some jute. It has to be able to carry a bit of weight so I went with a four ply, 100% natural jute cord.
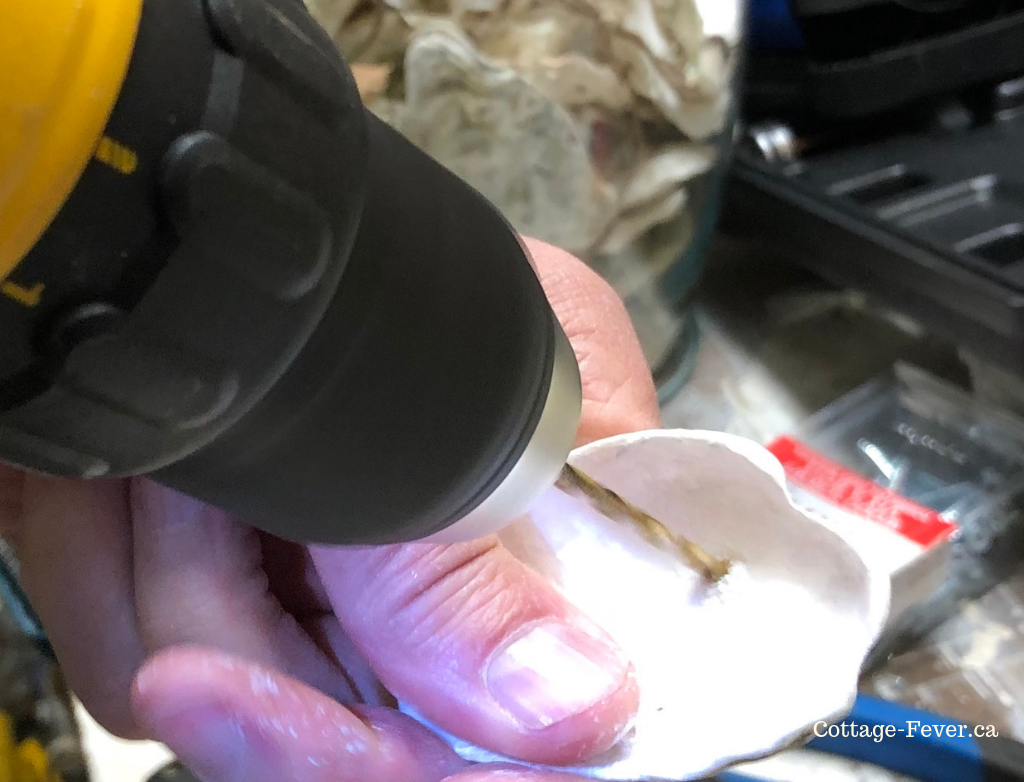
I also required a drill to make the holes in the shells through which the jute would be threaded, which we already owned. In order to drill more easily through the shell, you’ll need a drill bit that is made for tile and stone.
And of course, 18 oyster shells that I gathered during a sunny afternoon walk on the beach. Just make sure that they are well washed. I actually put mine in a bucket and add a bit of bleach just to ensure that there is no unwelcome scent to them.
If you don’t leave near the beach, you can order the shells through Amazon. Ultimately, you’ll need a hook or cleat from which the garland will hang. I’ve created this garland using jute as I hang it indoors. If hanging outdoors, you may want to use a more weather resistant materials such as fishing line.
Steps:
- Fill a small bin with water. Using a block of scrap wood as a backer, drill a hole through the shell under water – you’ll want to make sure that the hole you drill is larger than the piece of jute. Sounds simple but you may have to experiment with different bit sizes.
2. Cut three pieces of jute1.5 metres in length. Now this is for a hanging garland but you may want to make a very long garland to lay down the centre of a table which means that the jute will be much longer.
3. Thread one piece of jute through a shell and tie a knot to secure in place. I hung my shells all with the inside of the shell facing up.
4. Continue to tie knots every 2 centimetres as you add a shell. This gives a bit of space between the shells for when the three lines are gathered together and the shells rest in between each other somewhat. I added nine shells per line of jute
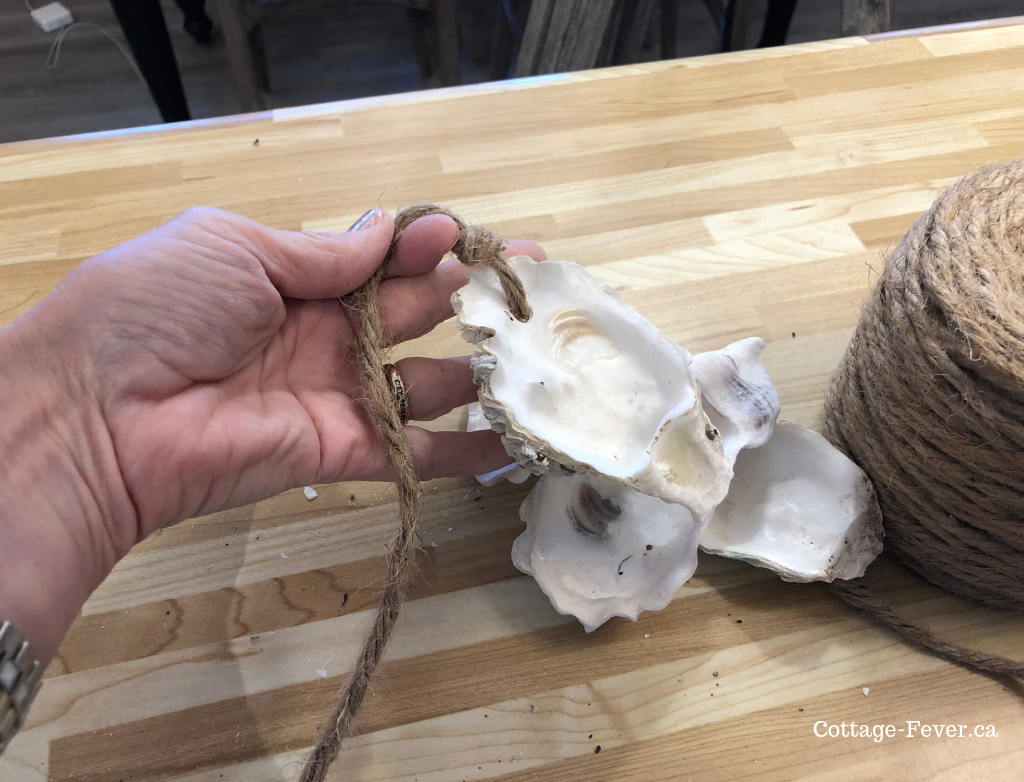
5. Continue with the other two lines of jute and the remaining shells
6. Gather all three lines together, form a loop and tie in a knot
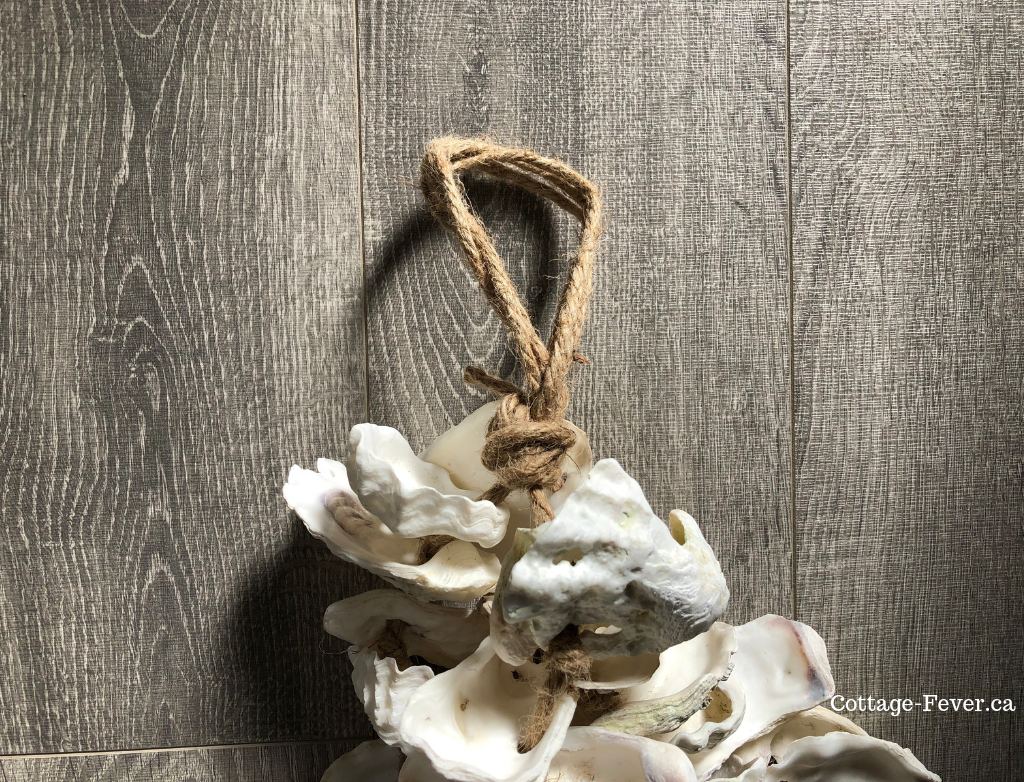
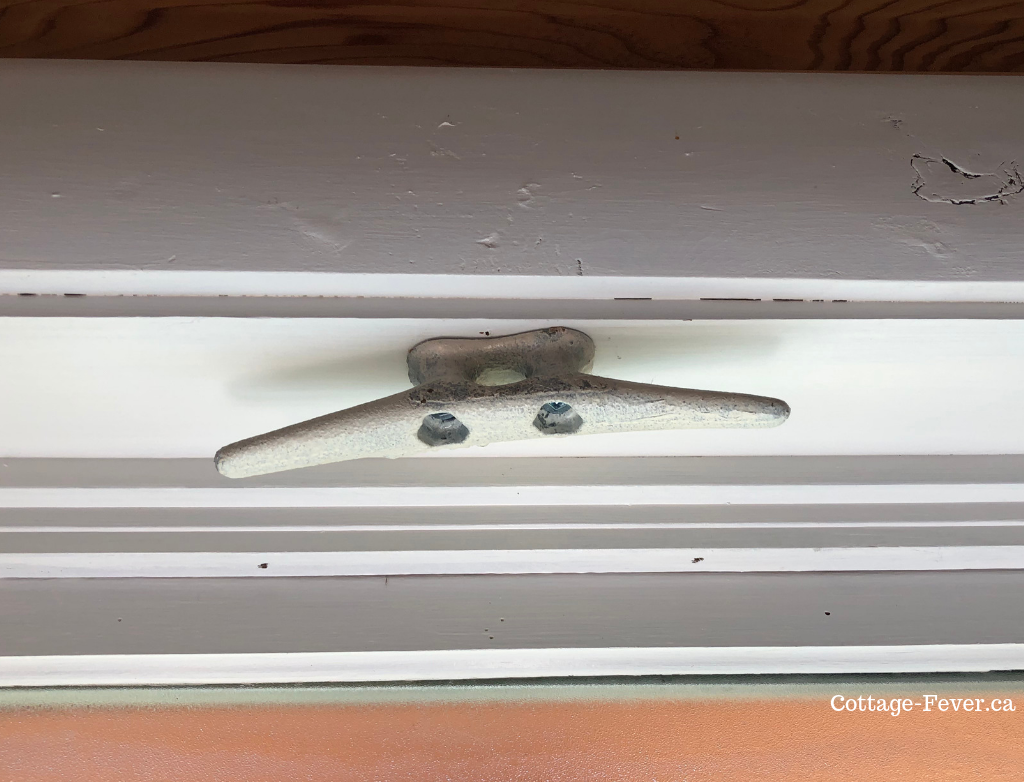
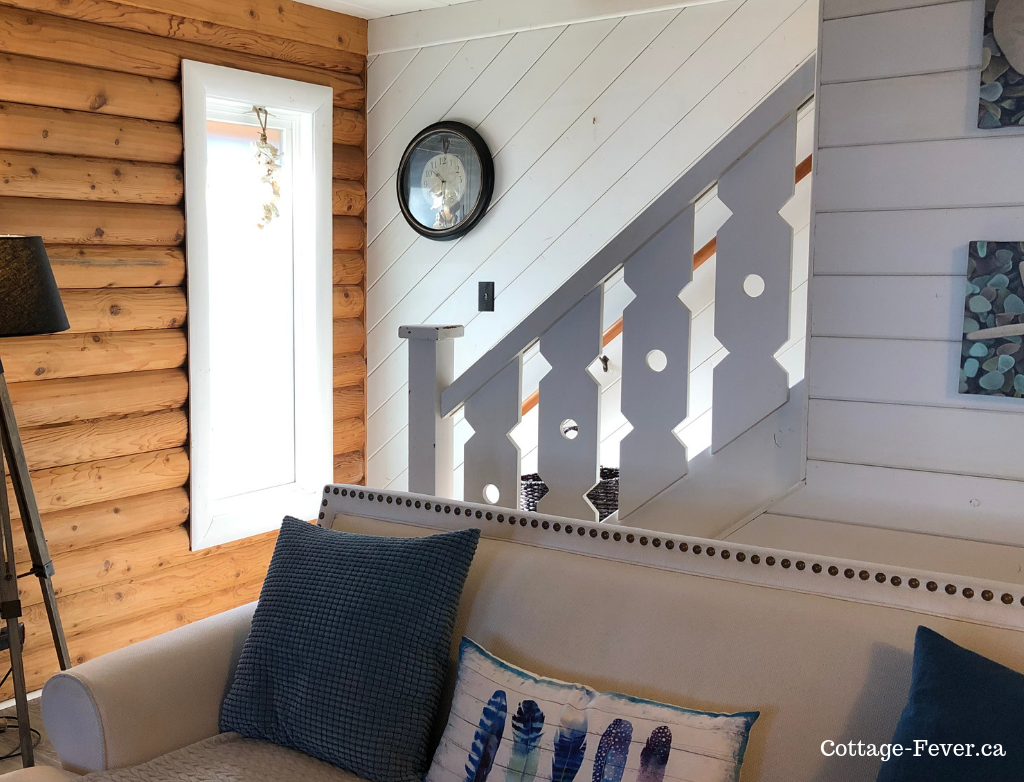
Ensure that the loop is large enough to go around whatever it is that your garland will be hanging from. To go with the whole nautical theme in my home, I have a dock cleat affixed to a window frame. These can be purchased at a marine supply store or at Canadian Tire. It’s quite wide so I had to make a rather large loop to fit it.
The finished product
I’m really happy with my piece of nautical decor. As I love collecting shells, it’s given me an opportunity to display them in a window that was looking rather bare and fulfilled my driving need to create.
If you’re interested in other coastal inspired craft projects, here are a few to try:
What kind of decor items have you made with shells? Please let me know by commenting below.